5 Simple Travel Scrapbook Ideas That Look Amazing
Some of my favorite travel memories have nothing to do with the photos I carefully framed. They’re tucked into old boarding passes, a restaurant receipt I nearly threw away, or a ticket that instantly reminds me where I was and how that day felt.
The problem is that these little pieces of a trip are easy to lose. Photos sit on a phone, tickets disappear into drawers, and months later, putting everything together feels like a huge project.
A travel scrapbook fixes that without needing to become an art project. You don’t need fancy supplies or perfect handwriting either. These five travel scrapbook ideas are simple enough to start tonight, yet personal enough that you’ll still enjoy opening the pages years from now.
Before You Start, Gather the Pieces of Your Trip
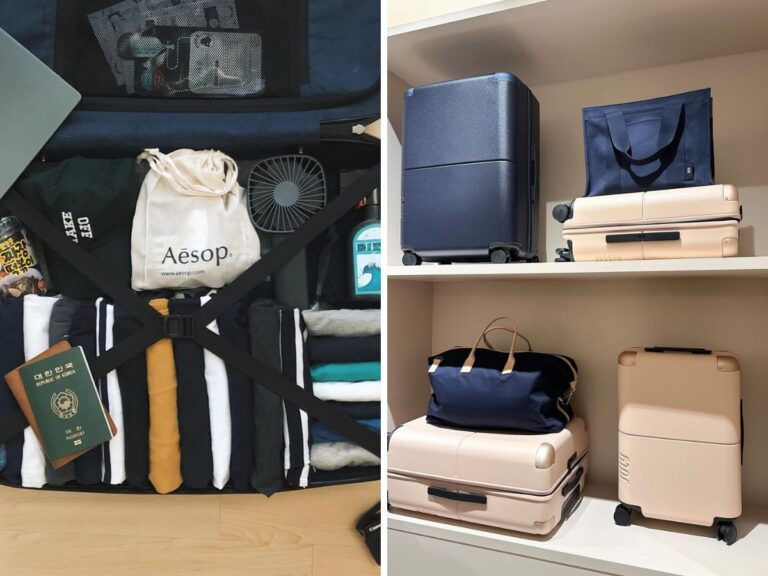
Before touching glue or deciding where anything should go, put your travel memories in one place.
I usually start with my favorite photos, boarding passes, train tickets, attraction tickets, postcards, restaurant receipts, maps, and any small paper items I brought home. Then I cut the pile down.
This part matters more than you might think.
National Geographic’s advice on preserving travel memories recommends focusing on moments that affected you rather than trying to capture every detail. The publication also suggests saving items such as receipts, sketches, ticket stubs, and notes that can help you reconnect with an experience later.
I follow a similar rule with photos. If six pictures tell nearly the same story, I choose the one that makes me feel something.
Try picking 10 to 20 photos for your first scrapbook. Add only the paper keepsakes that have a memory attached to them, and you’re ready to build the pages.
1. Make a One-Trip Story Scrapbook
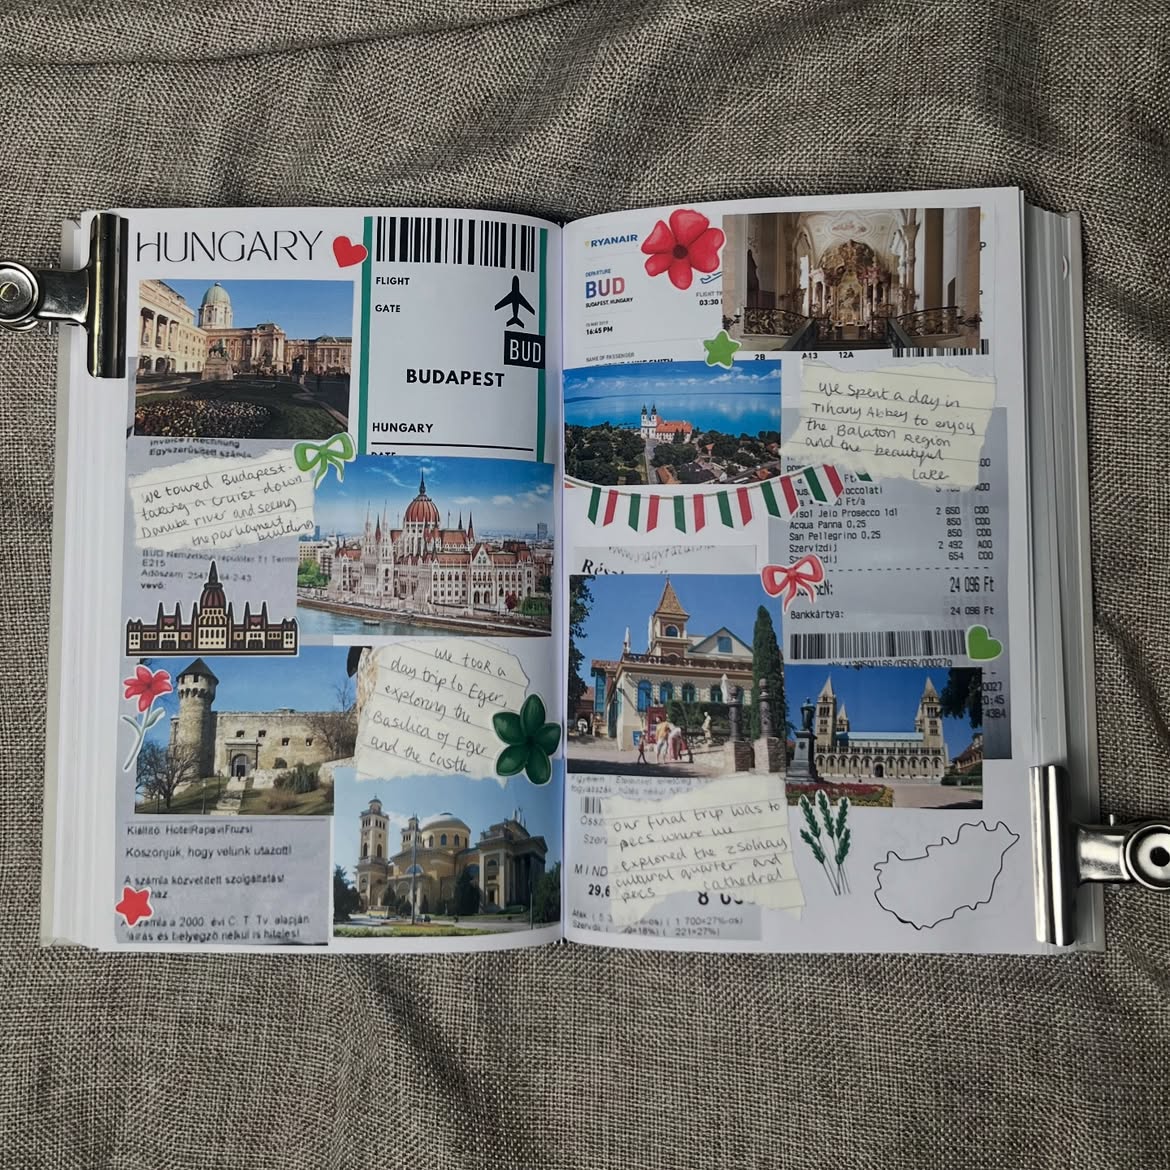
If you’ve never made a travel scrapbook, start with one vacation.
Treat the scrapbook like a story with an opening, middle, and ending. Your first page can show the destination, travel dates, and a favorite arrival photo.
From there, give each page or two-page spread one moment to tell.
When I look back at a trip, I rarely care about seeing 12 similar photos from the same afternoon. I’d rather see one great street photo beside a train ticket and a handwritten sentence reminding me what happened.
Try using one large photo as the focus of each page. Add two or three smaller photos, tickets, or notes around it.
For a weeklong trip, you don’t even need seven separate sections. Group the quieter days together and save more room for the places, meals, mishaps, and people you still talk about.
Once you stop trying to document every minute, your scrapbook starts feeling like your trip rather than a photo archive.
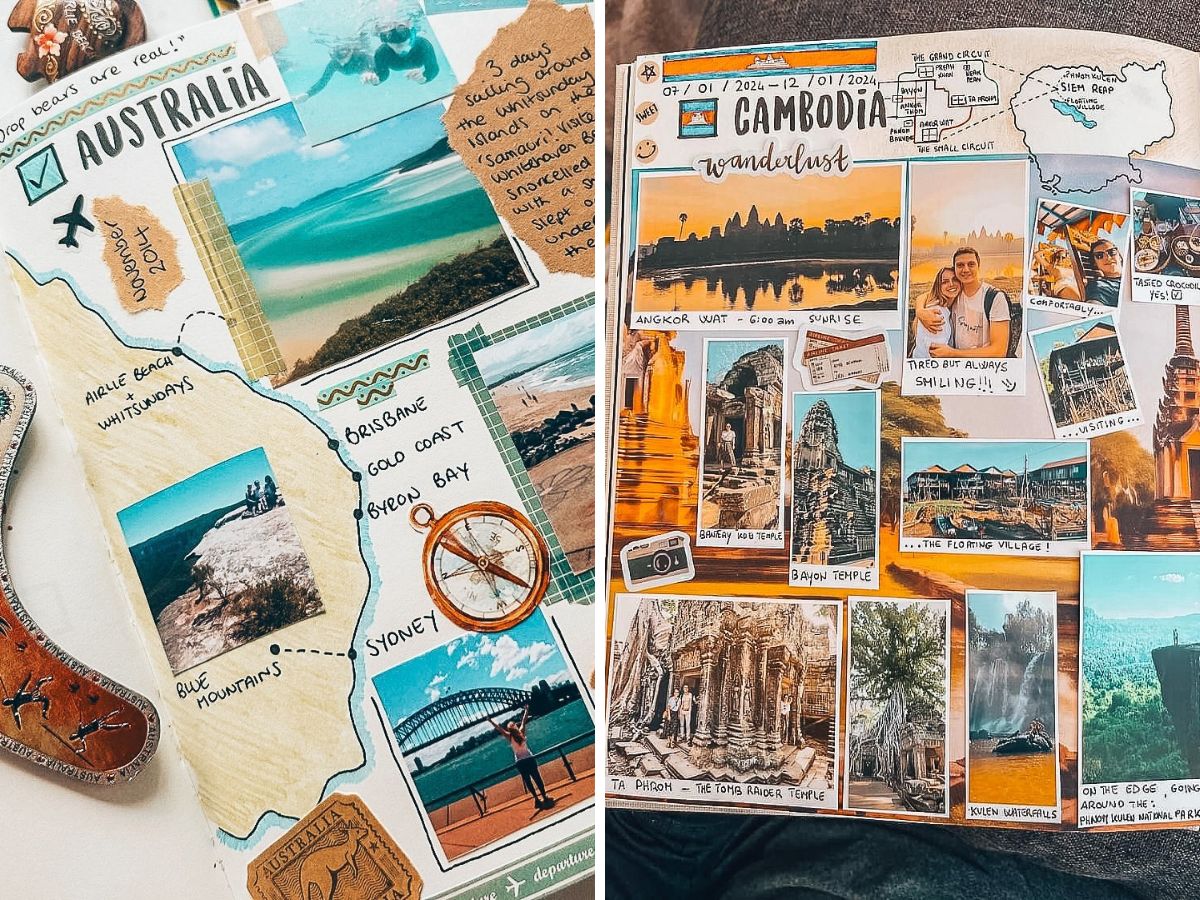
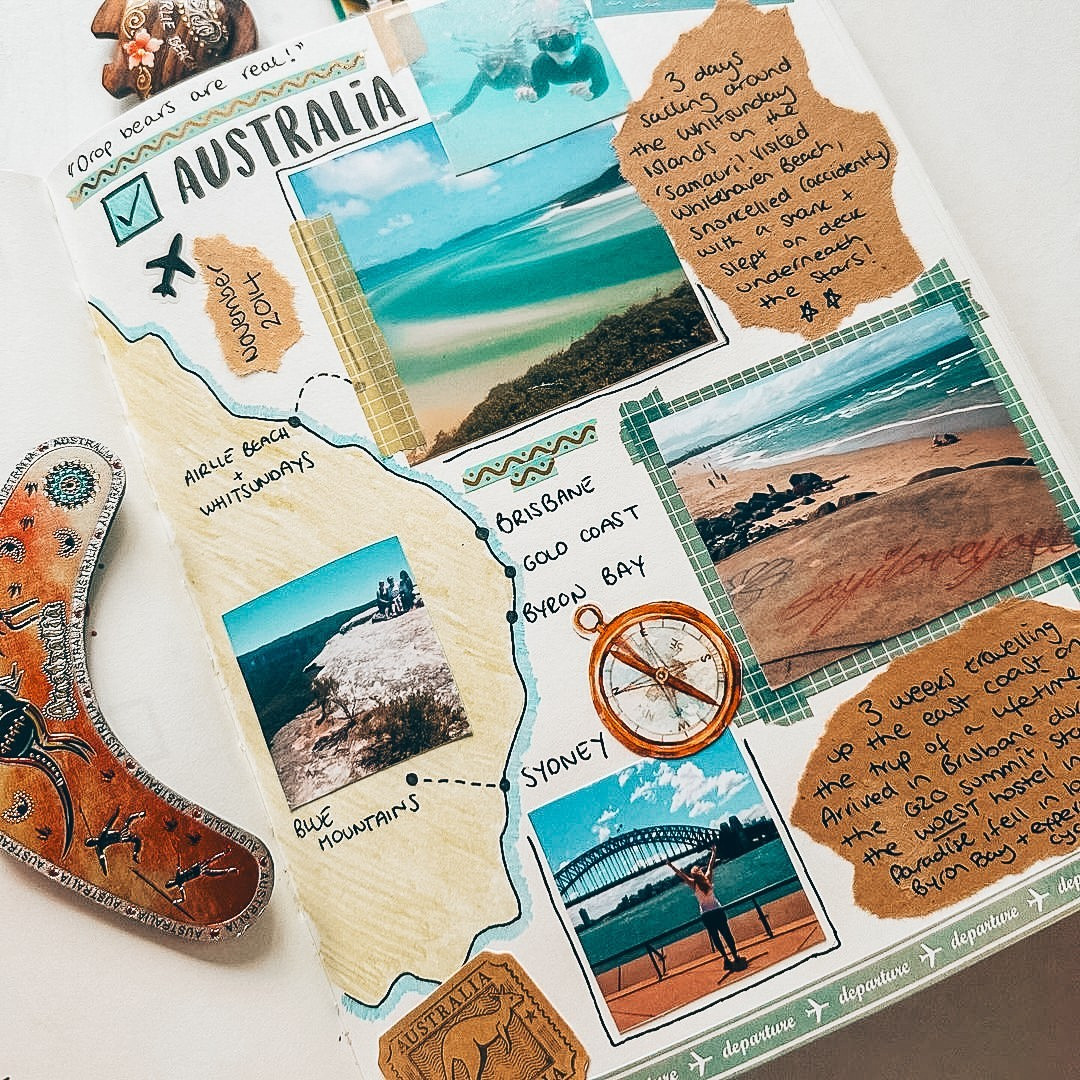
2. Build Your Scrapbook Around a Map
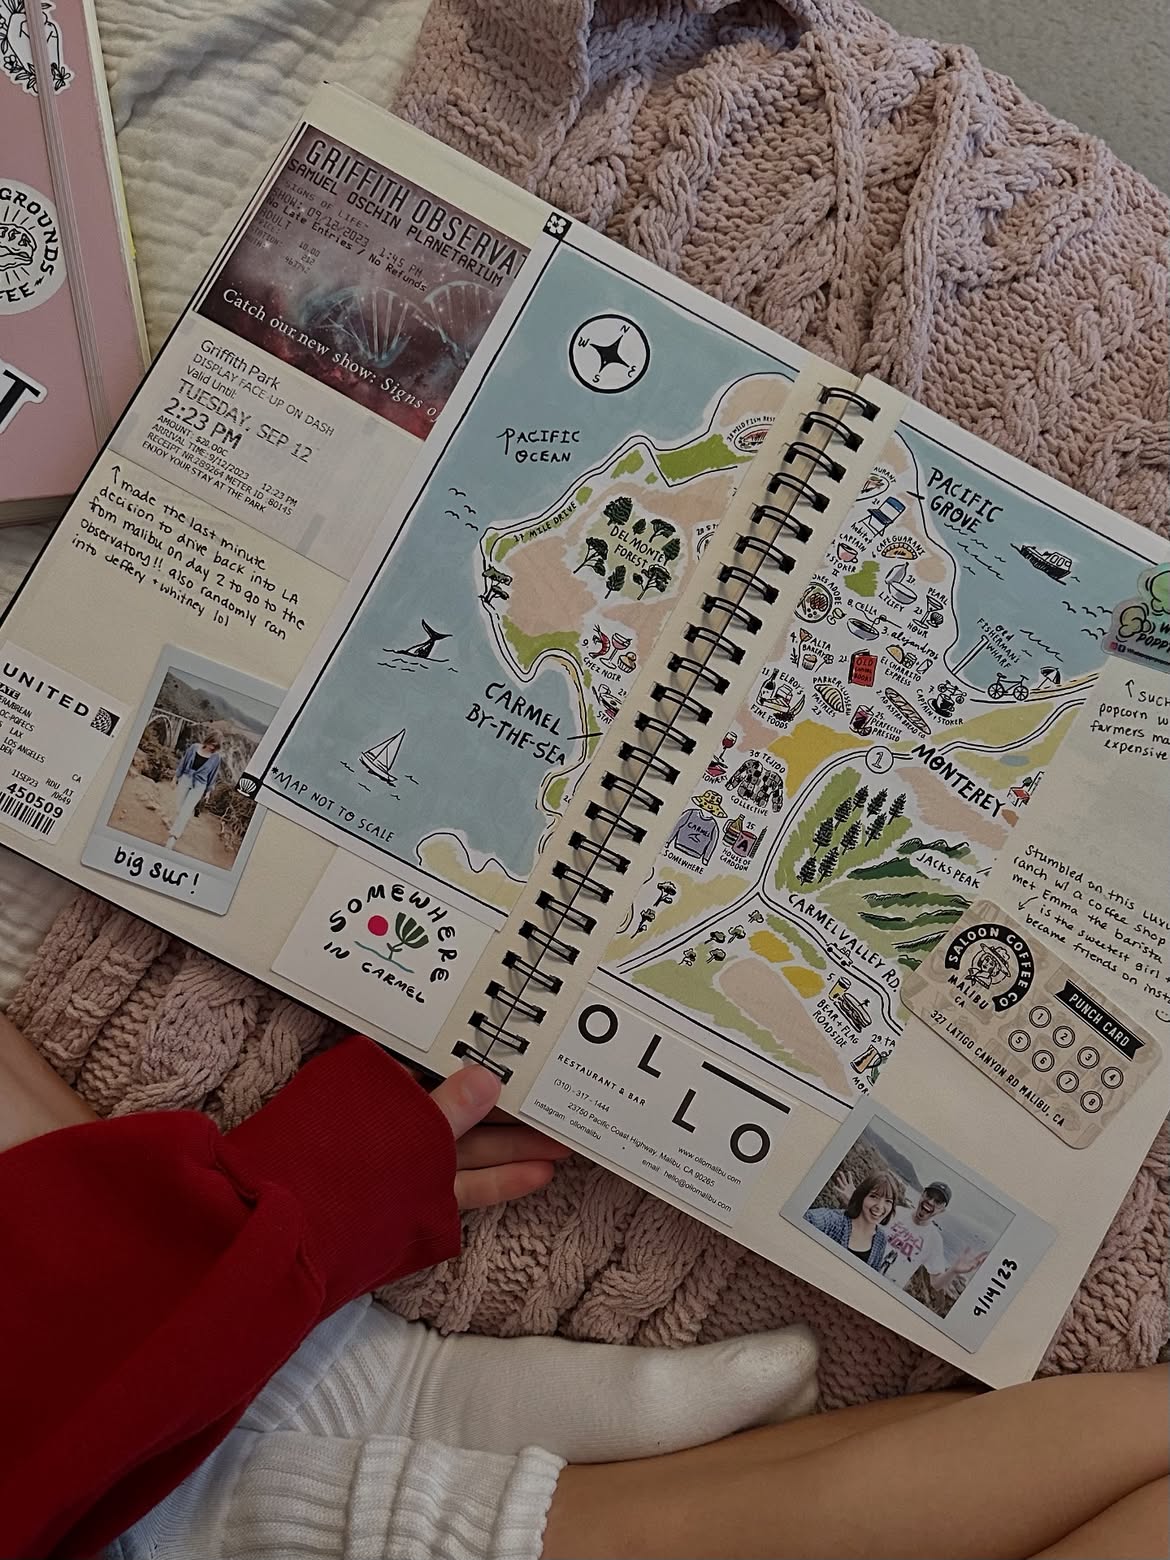
Maps make brilliant scrapbook pages because they answer one question photos often can’t. Where did all of this happen?
I love this approach for road trips and trips where I moved between several cities. Print a map of the area, mark your route, and use it as the opening spread.
Then add memories directly around the places where they happened.
You could write “best breakfast of the trip” beside one town, “missed my train here” beside another, or “planned one night, stayed three” next to an unexpected favorite.
Those tiny notes are often more fun to revisit than a perfectly written travel diary.
If you live in an apartment or don’t want boxes of old maps taking up space, keep this small. Print the section of the map you need instead of saving the entire paper map.
You can also draw your route with a pen and number the stops. Match those numbers to photos on the opposite page and suddenly a complicated multi-stop trip becomes easy to follow.
Next, you can bring the same storytelling idea to all those little pieces of paper you carried home.
3. Turn Tickets and Tiny Keepsakes Into the Story
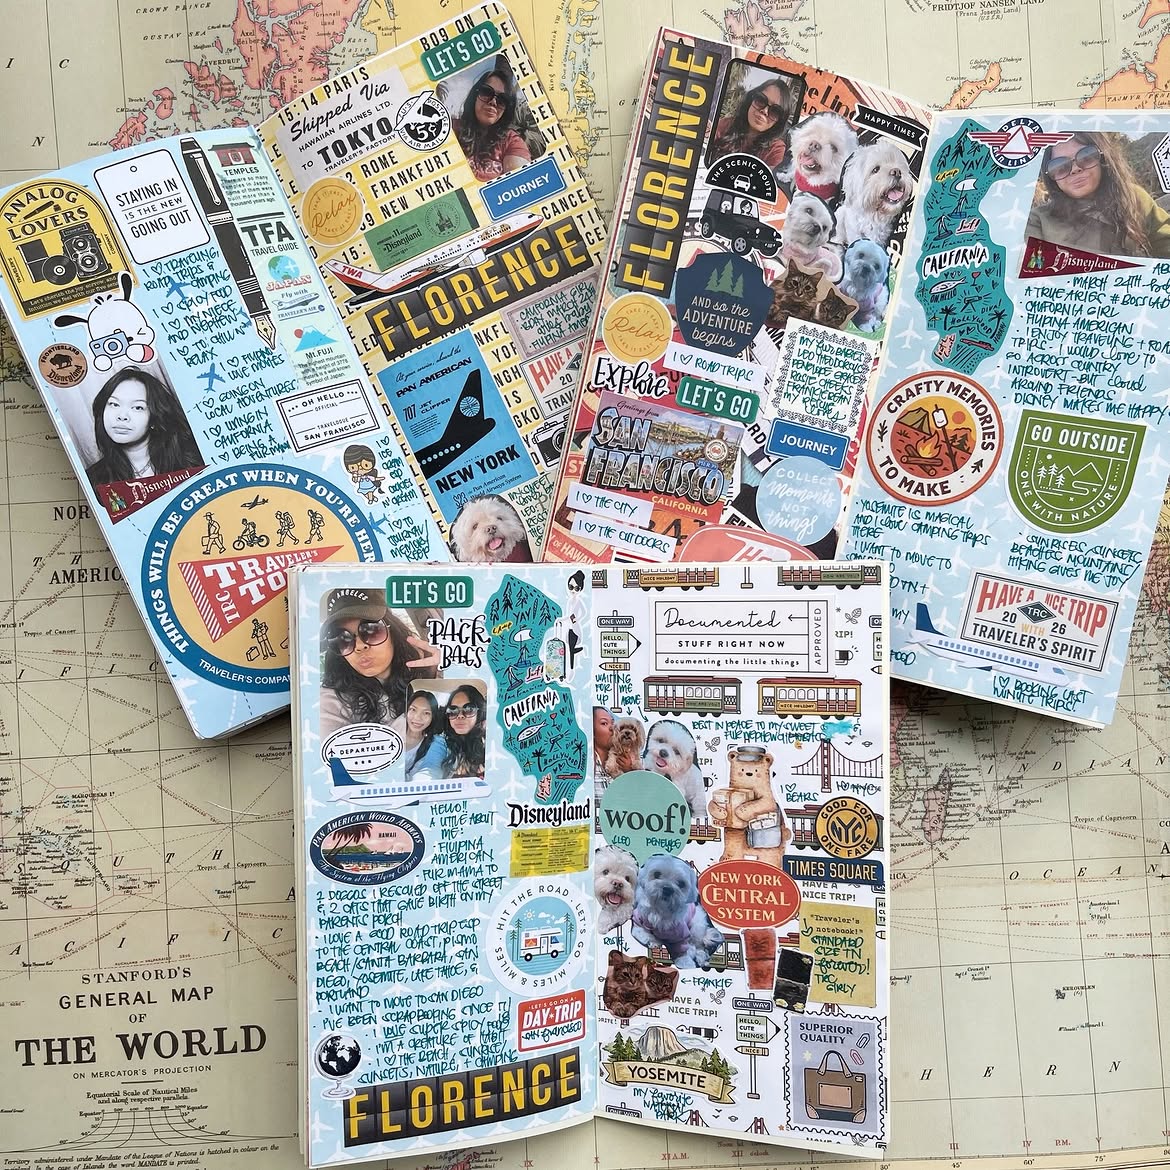
I used to wonder why I kept things like train tickets and café receipts. Individually, they didn’t look like much.
Placed beside a photo and a few handwritten words, they felt completely different.
That idea has some serious travel-editor backing too. In Condé Nast Traveler’s feature on the art of travel journaling, creative director Yolanda Edwards shares how she collected ticket stubs, business cards, restaurant checks, personal writing, and other small mementos for her travel journals.
Try a simple formula on your next page. Choose one photo, one meaningful keepsake, two smaller paper pieces, and a short handwritten memory.
Resist covering every inch.
If a ticket has a beautiful stamp or date, let it show. If something has writing on both sides, slip it into a small paper pocket rather than permanently sticking it to the page.
I’d also photograph anything bulky before getting rid of it. A restaurant menu or large brochure may take up too much room, but a photo of it can preserve the memory without making your scrapbook enormous.
And that leads to one category of travel memories I almost always want to remember: food.
4. Give Your Favorite Travel Meals Their Own Pages
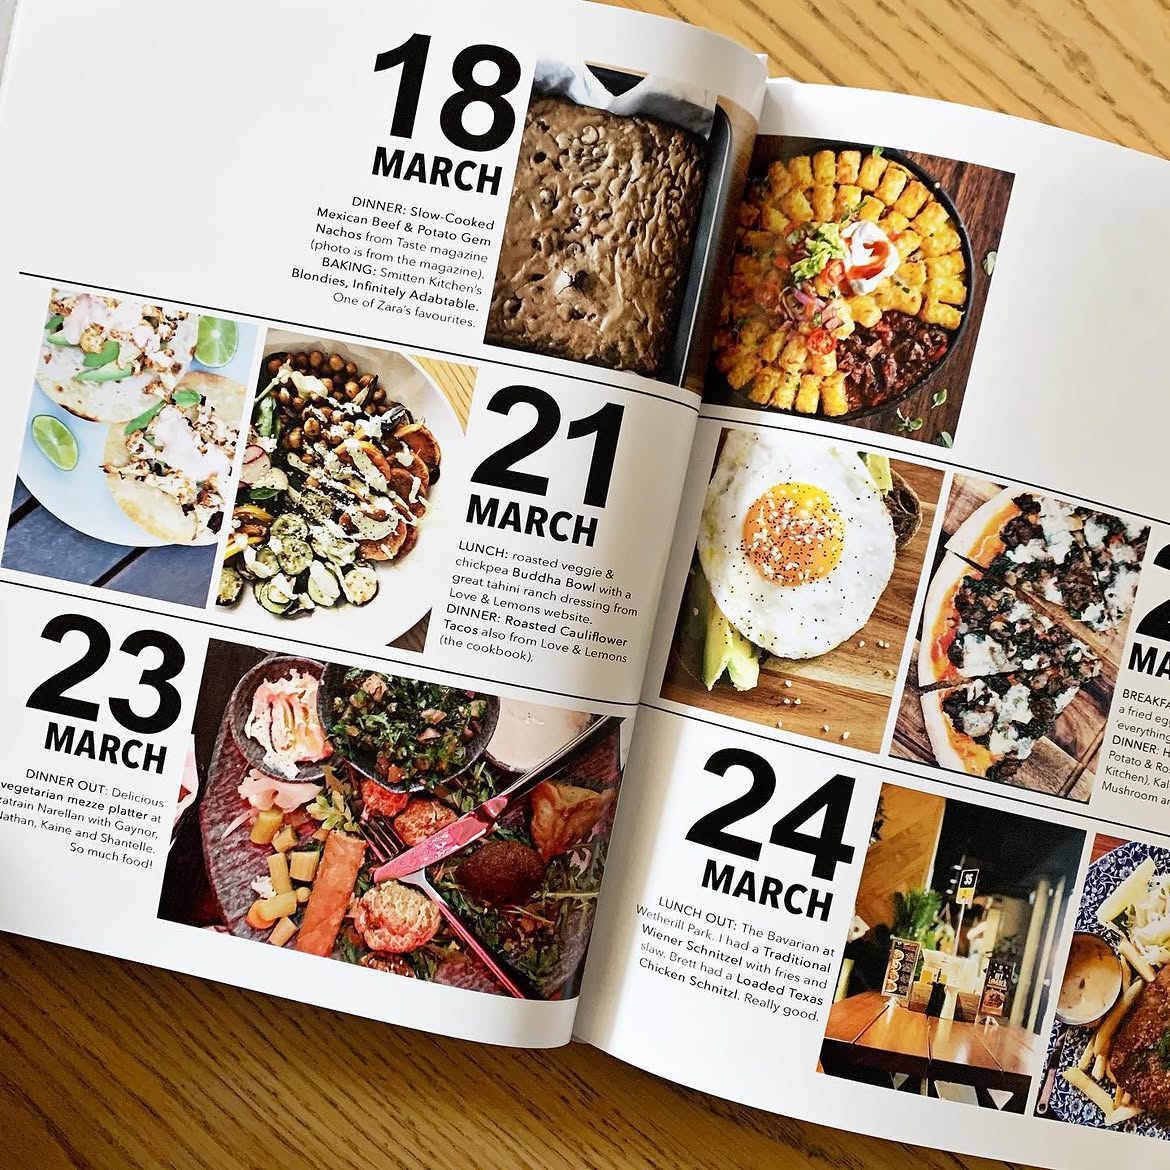
Food can take me back to a place faster than almost anything else.
A picture of a dish might remind me what I ate, but the little details are what make the memory come alive. Where was I sitting? Was I exhausted after walking all afternoon? Did I order it confidently or point awkwardly at the menu?
Give those memories a page.
Pair a food photo with the restaurant name, location, receipt, food-market photo, label, or business card you saved. Then write one or two sentences about what actually happened.
Instead of writing “pizza in Rome,” write something closer to, “I found this little place after walking all afternoon and ate the whole pizza standing outside.”
That sentence gives your future self a story.
You can take the idea home too. If you later try making a dish you discovered while traveling, add a photo and a note about how your version turned out.
You’re no longer collecting pictures of meals. You’re preserving what eating your way through that destination actually felt like.
5. Try One Scrapbook Page Per Travel Day
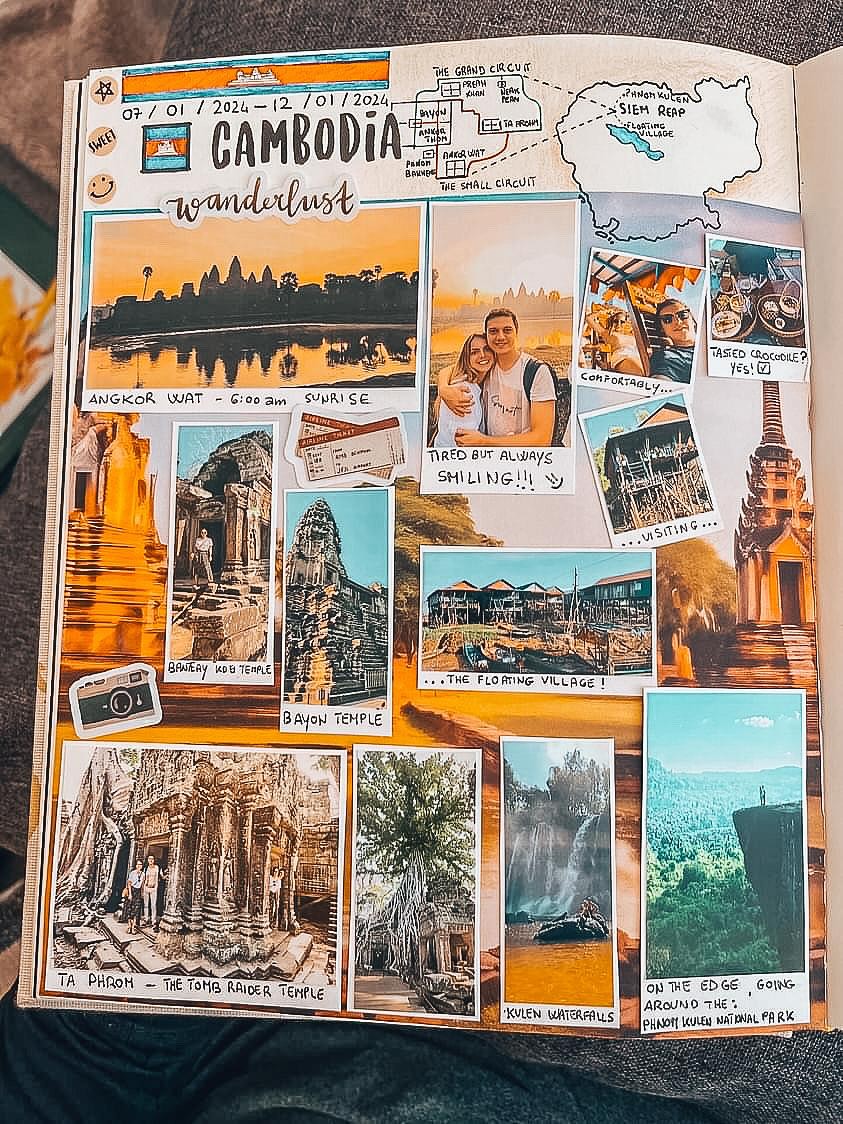
If scrapbook design intimidates you, remove most of the decisions.
Give each travel day one page and repeat roughly the same layout throughout the book.
Use one favorite photo, one smaller image or keepsake, the place and date, and two to four sentences about the day.
That’s enough.
Travel + Leisure writer Jessica Macdonald makes a similar case for getting travel memories off our phones. In her guide to travel journals she actually uses, she discusses keeping physical travel records and printing favorite trip photos rather than leaving every memory in digital form.
You can make this even easier while traveling.
At night, open your phone and write two sentences about the day. Note the funny mistake, unexpected meal, conversation, weather, or tiny moment you don’t want to forget.
When you return home, you already have the words for each scrapbook page.
The Simple Trick That Makes a Travel Scrapbook Look Better
One lesson I’ve learned from looking at beautiful memory books is that empty space isn’t something you need to fix.
Pick two or three colors that work with your travel photos. Repeat the same pen, labels, borders, or lettering style throughout the scrapbook.
Then stop before the page feels full.
Let one photo catch your eye first. The smaller photos, tickets, maps, and writing should help tell its story rather than compete with it.
If your scrapbook starts looking busy, remove one item before adding another. That tiny habit can change the whole page.
Your Scrapbook Doesn’t Need to Be Perfect
Years from now, you probably won’t care whether a ticket was glued perfectly straight.
You’ll care that the ticket takes you back to the train station, the handwritten sentence reminds you what happened next, and that slightly imperfect photo still makes you smile.
That’s why I wouldn’t wait until you have enough supplies or enough time to make the perfect travel scrapbook.
Pick one trip. Print 10 photos. Find the little things you saved.
Then make the first page.
Also read:
The Surprising Benefits of Keeping a Travel Journal (And How to Start)