Disney Cruise Nails That Elevate Your Look
I didn’t think much about my nails before my first Disney cruise.
Outfits were planned. Shoes were sorted. Everything felt ready. But once I was there, I noticed something I didn’t expect. My hands were in almost every photo. Holding a drink, waving at characters, resting on the table at dinner.
And suddenly, my nails felt… off.
Here is why this matters.
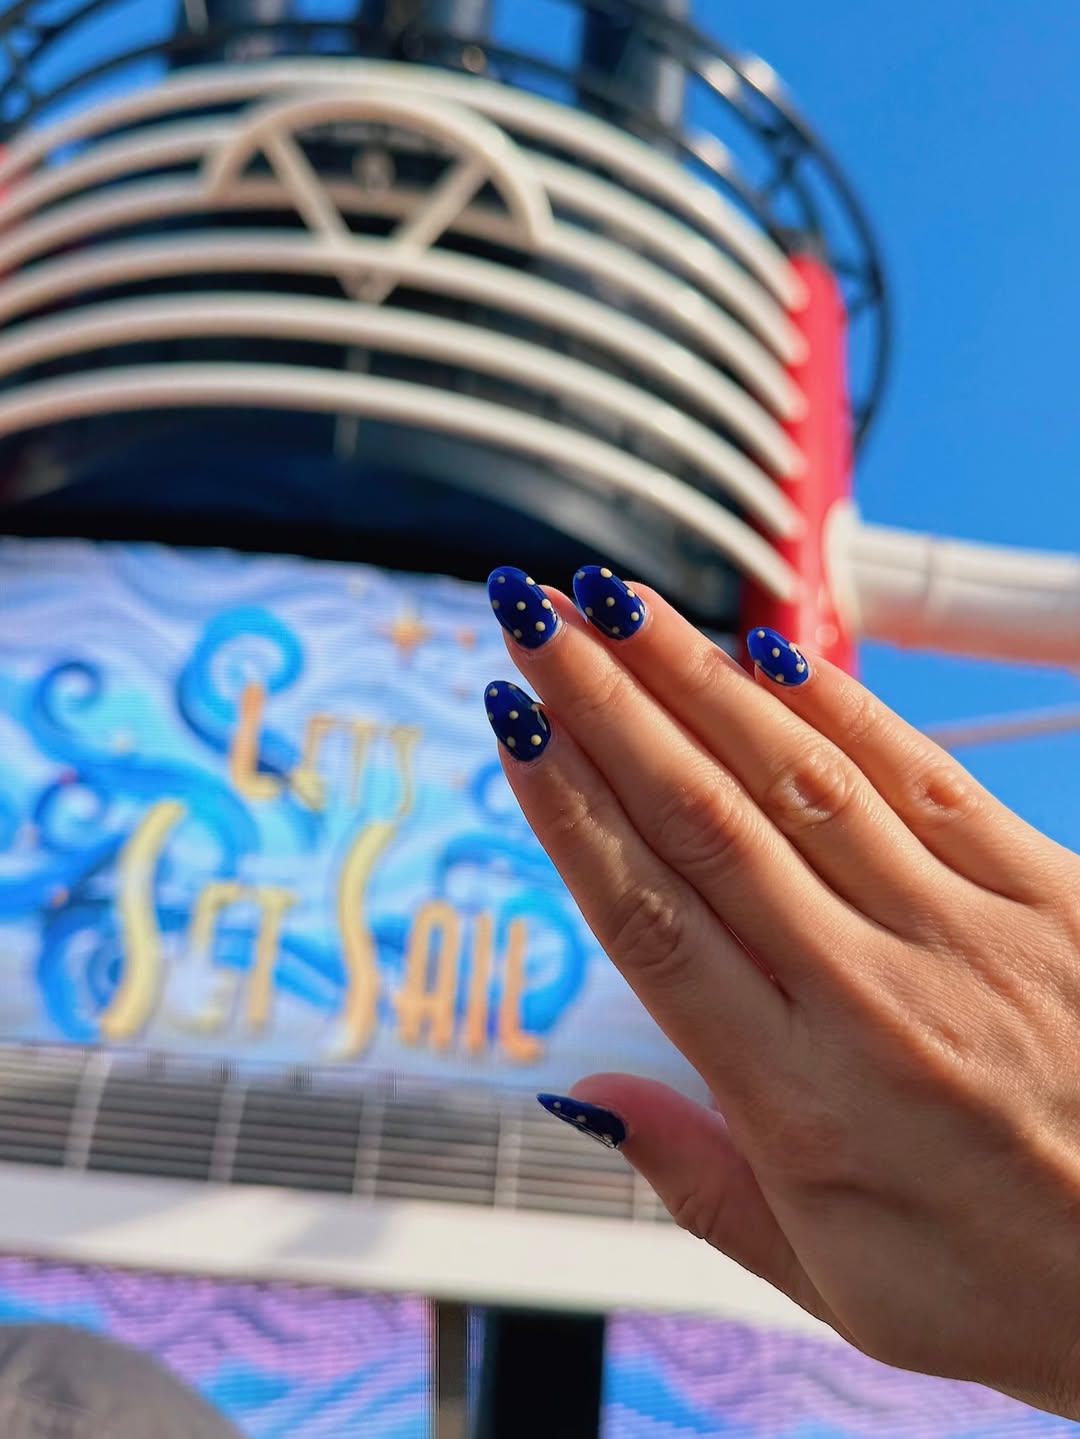
On a Disney cruise, the smallest details show up everywhere. Bright sunlight, themed spaces, constant photos. Your nails become part of your overall look whether you planned for it or not.
And when they don’t feel right, you notice it more than you’d expect. In photos. In moments. Even when you’re just looking down at your hands.
The good news is this. You don’t need complicated designs or hours at a salon to fix this.
You just need nails that look good in every setting, last the entire trip, and don’t get in your way.
That’s exactly what we’re going to figure out.
Let’s break it down.
What Makes Disney Cruise Nails Different

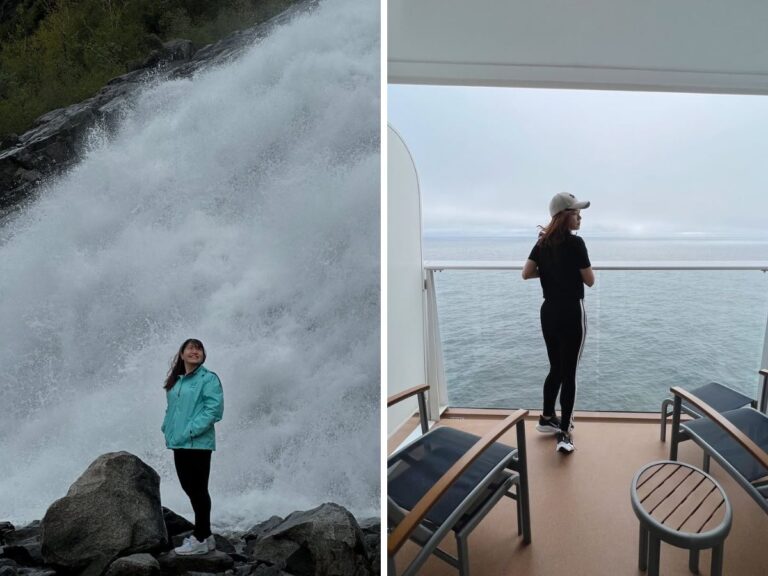
A cruise changes how your nails hold up.
You’re dealing with sun, water, and long days. One moment you’re by the pool, the next you’re at dinner or taking photos with characters. Your nails go through more in one day than they would in a normal week.
That mix matters.
Regular polish that looks perfect on day one can start chipping faster than you expect. I’ve seen it happen halfway through a trip. Once it starts, it’s all you notice in photos.
There’s also the lighting. Bright sunlight shows every detail, every edge, every chip. At night, softer lighting can change how colors look completely.
So your nails need to do two things at once. Look clean up close and still hold up by the end of the trip.
Quick check you can do right now. Think about your last manicure. Would it still look good after five days of pool, sun, and constant movement? If not, it won’t work here either.
Now let’s make choosing them easier.
Start Here: How to Choose the Right Nail Style for Your Disney Cruise
This is where most people overthink things.
Match your nails to your outfits, not just the theme
It’s tempting to go all in on Disney designs.
But here’s what I noticed. The most polished looks were simple. A clean base with a small detail always looked better than full character nails that only worked with one outfit.
Try this. Lay out three outfits you plan to wear. Now look at your nail idea. If it clashes with even one of them, adjust it now.
That one step saves you from second-guessing later.
Think about length before design
Length matters more than design once you’re on the cruise.
Opening luggage, holding drinks, applying sunscreen, using your phone. Long nails can make all of that harder than it needs to be.
I’ve watched people slow down their day because of this.
Mid-length or shorter nails are easier to live with and still look put together in photos.
Quick test. Try doing simple tasks with your current nail length. If anything feels awkward, shorten before your trip.
Pick colors that work in all lighting
What looks good indoors can feel completely different outside.
Bright sunlight can make colors look sharper. Evening lighting can make them look dull or darker.
Soft tones, clean neutrals, or slightly muted shades tend to work better across both settings.
If you’re unsure, step outside after your nail appointment and look at them in natural light. That’s how they’ll look most of the time on your trip.
Now that you’ve got the basics, let’s talk about designs that actually hold up.
Nail Designs That Actually Work on a Disney Cruise
This is where small choices start paying off.
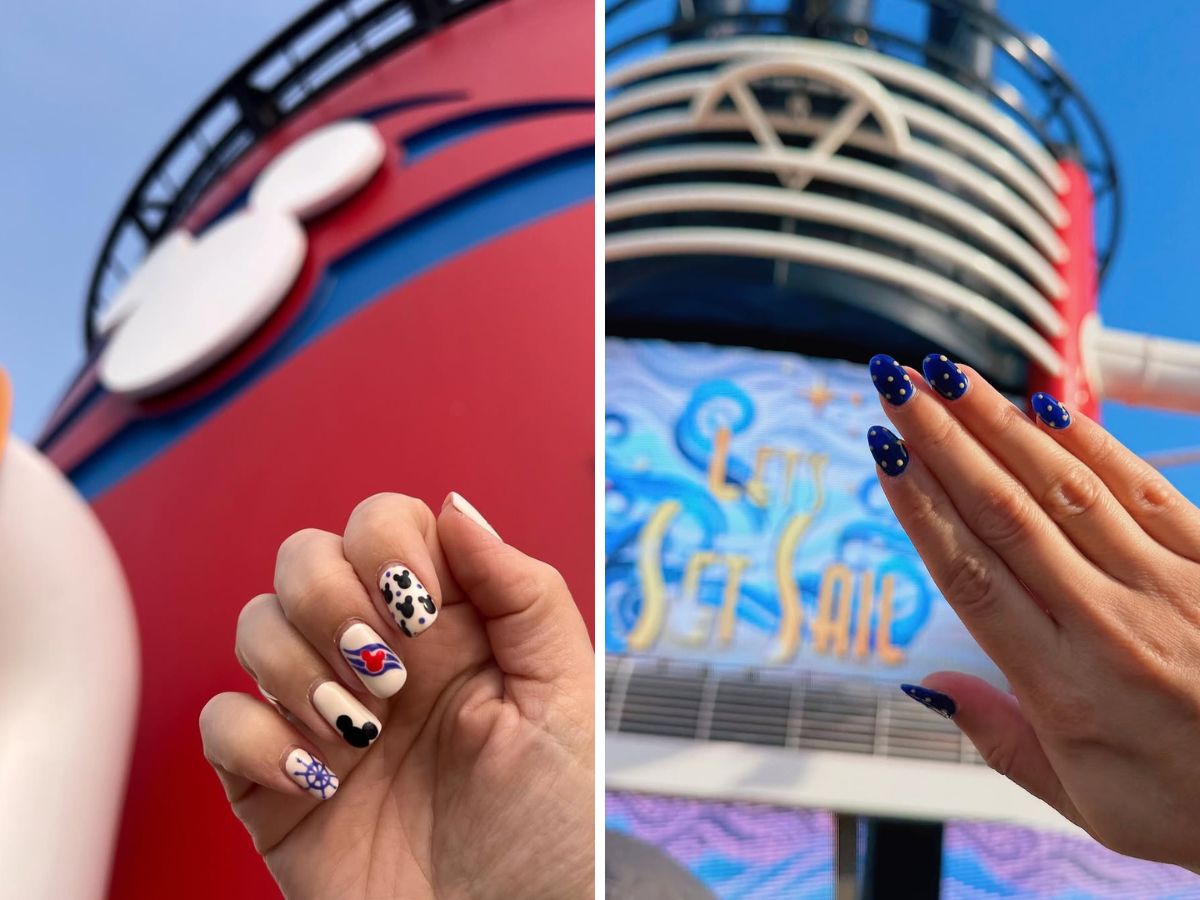
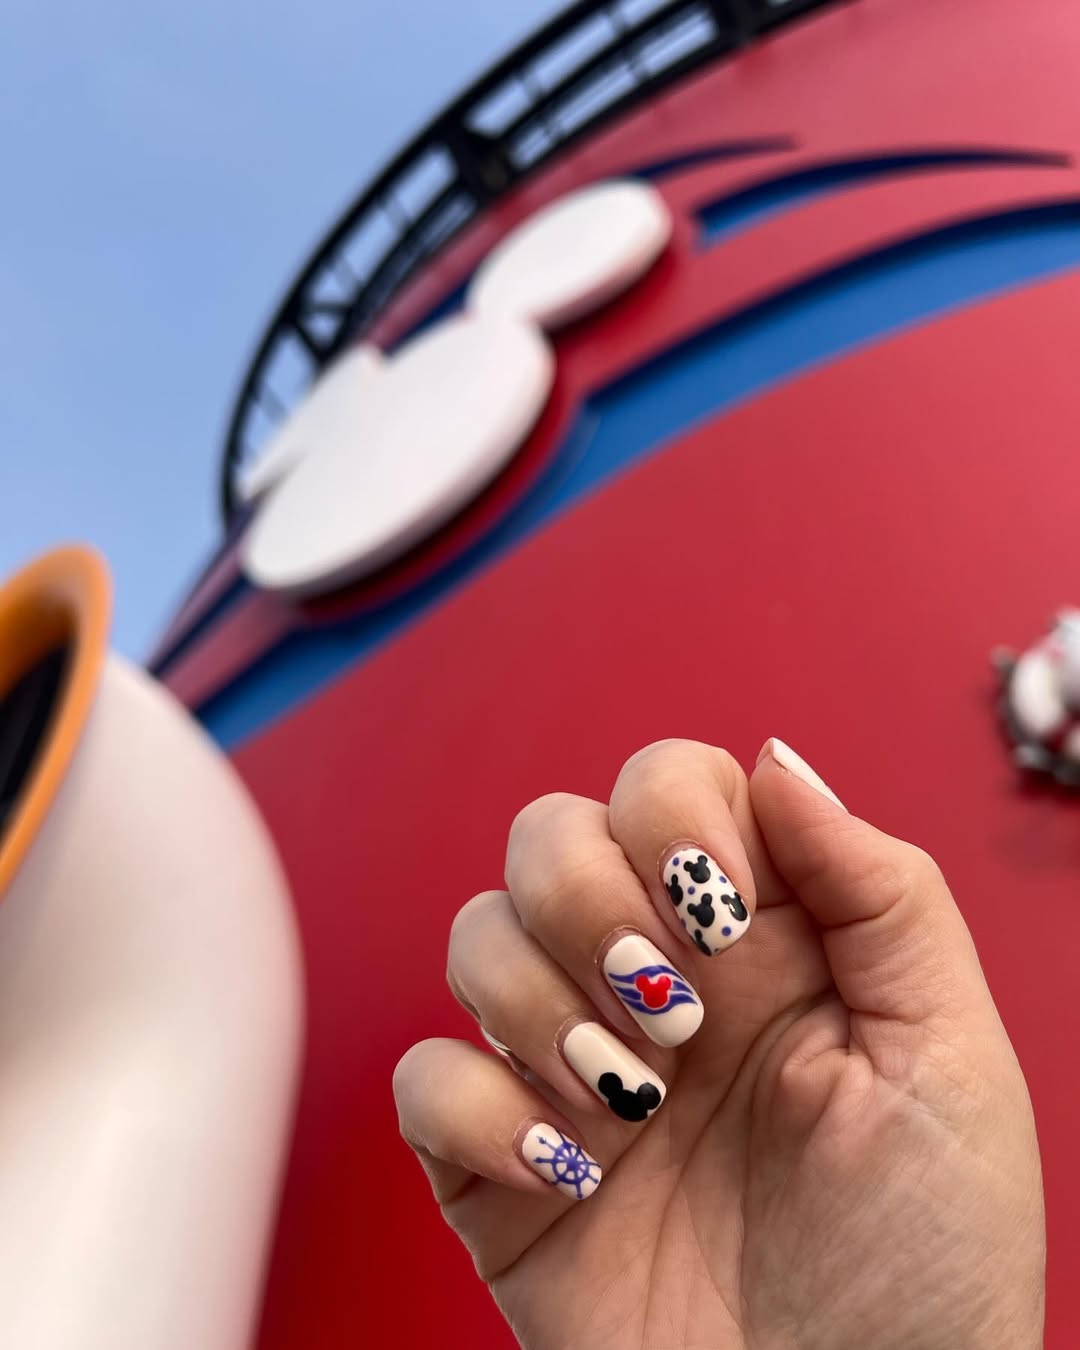
Minimal Disney accents over full designs
A small Mickey detail. A subtle shape. That’s usually enough.
Nail art gives you room to mix colors and textures in creative ways.
But on a cruise, simpler designs feel easier to wear across different moments. They don’t lock you into one look.
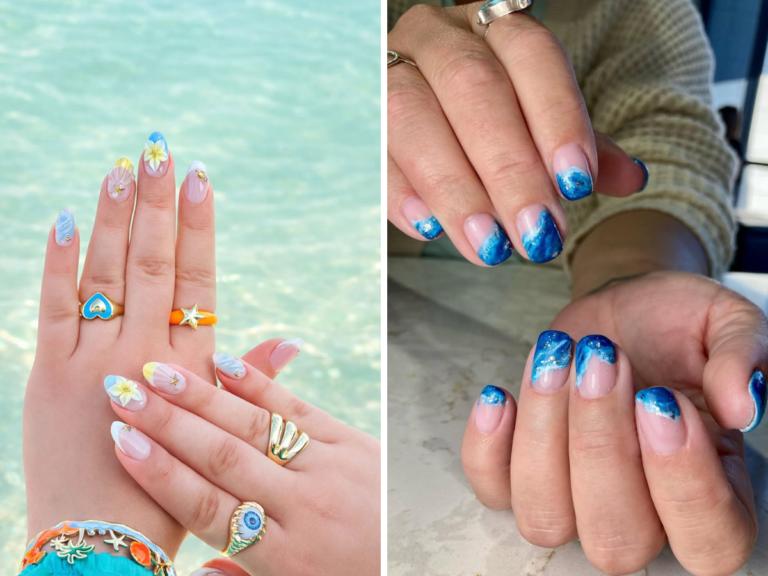
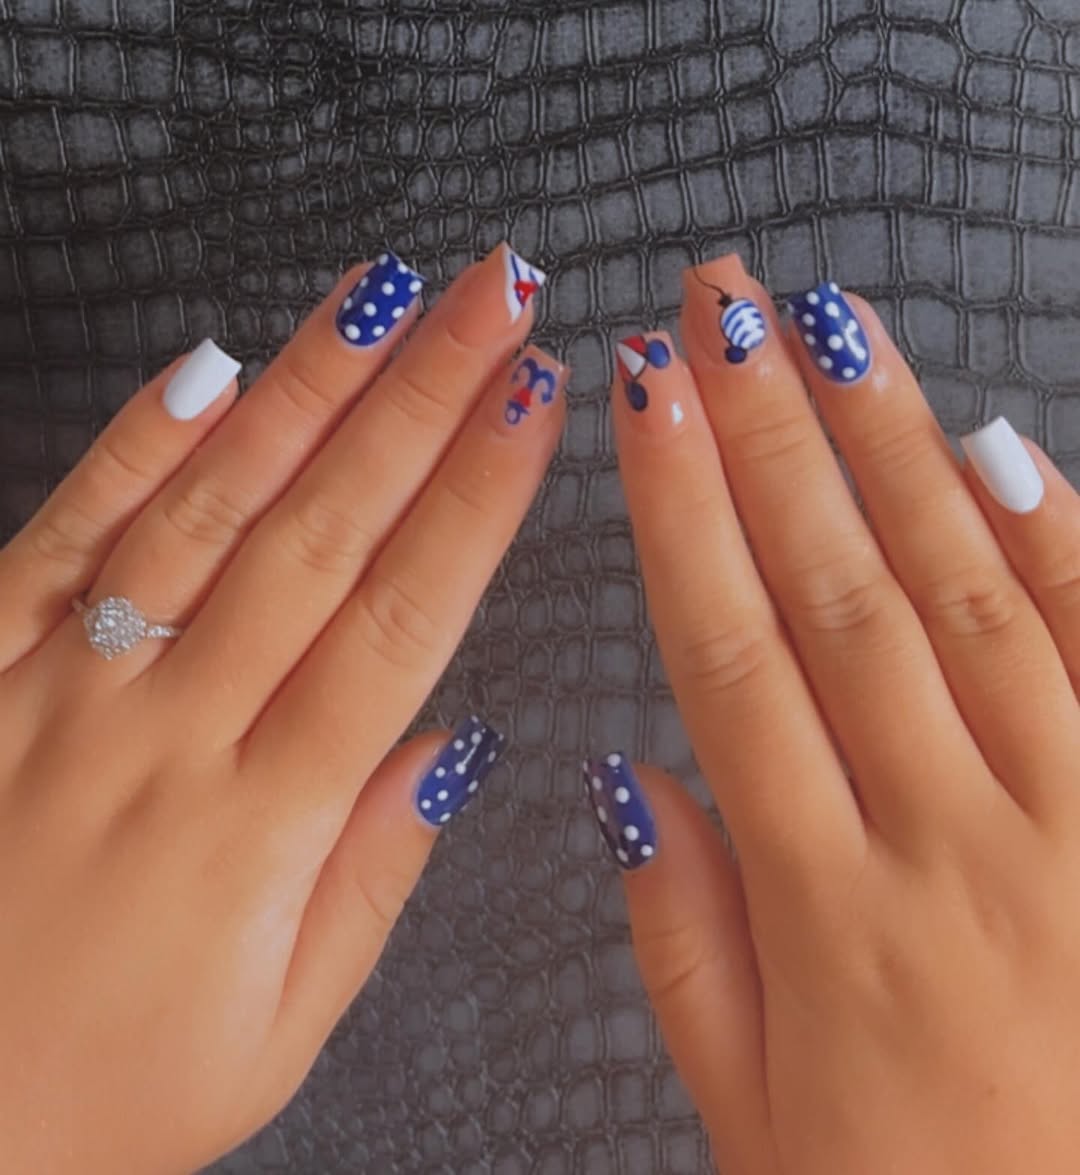
Soft pastels and clean neutrals
These colors work without effort.
I’ve seen people wear the same nail set from pool days to dinner, and it always looked right. That’s what you want. Something you don’t have to think about.
Glossy finishes that stand out in photos
Shine matters more than you expect.
A glossy finish reflects light in a way that shows up clearly in photos, both in sunlight and at night. Beauty experts note that gel manicures keep that shine longer and maintain a smoother surface, as explained in this guide to gel nails and their long-lasting shine.
That’s the difference between nails that look fresh on day one and nails that still look good halfway through your trip.
French tips with a subtle twist
If you’re unsure, this is the safest option.
A clean base with a small detail at the tip gives you a polished look without trying too hard.
You won’t get tired of it. And it will work with almost everything you wear.
Before you lock in your design, ask yourself one thing. Will I still like this on day five?
If the answer is yes, you’re on the right track.
Now let’s talk about what usually goes wrong.
What Ruins Cruise Nails (And How to Avoid It)
This is where most frustration starts.
Overly detailed designs that chip fast
More detail means more edges. More edges mean more chances for lifting or chipping.
It might look perfect on day one. By day three, small flaws start showing. And once you notice them, it’s hard to ignore in photos.
Simple designs tend to last longer and still look clean at the end of the trip.
Quick fix. Before choosing a design, ask yourself. Will this still look good if a tiny part chips? If the answer is no, simplify it.
Very long nails that get in the way
They look great at first. Then your day begins.
Opening bags, holding drinks, using your phone, applying sunscreen. Small tasks start taking more effort than they should.
I’ve seen people slow down just because their nails made everything harder.
Try this before your trip. Use your phone, open a zipper, and grab small items with your current nail length. If anything feels awkward, shorten them now.
Matte finishes that lose their look
Matte styles can fade faster, especially with water, sun, and daily wear.
After a few days, they can start looking uneven instead of clean.
If you want something that holds up better, go with a glossy finish. It’s easier to maintain and looks fresh longer.
Last-minute nail appointments before travel
I’ve made this mistake.
Getting your nails done the day before travel sounds convenient. But if something feels off, you don’t have time to fix it.
Try this instead. Get your nails done three to four days before your trip. You’ll have time to adjust shape, color, or length if needed.
That small change saves a lot of stress later.
Next, let’s make sure your nails actually last the entire cruise.
How to Make Your Nails Last the Entire Cruise
This is where a few small habits make a big difference.
Choose gel or dip over regular polish
Regular polish looks good at first, but it doesn’t hold up the same way.
Gel polish can last up to two to three weeks without chipping, which makes it a better choice for travel, as explained in this guide on how long gel nail polish lasts.
That means you’re not thinking about your nails halfway through your trip.
Bring a simple nail kit
You don’t need much.
A small file. A clear top coat. A bit of nail glue if you’re using press-ons.
I’ve fixed small chips in under a minute with just these items. It’s the difference between a quick fix and letting it get worse.
Use quick habits that take seconds
After time in the pool, dry your hands properly instead of letting them air dry.
Before bed, take a quick look at your nails. If something feels slightly off, fix it early.
Cruise-focused advice even suggests reapplying a top coat to help your manicure last longer during trips.
These habits take less than a minute but keep your nails looking clean all week.
Now let’s bring it all together.
Quick Nail Plan Based on Your Cruise Style
This is where it becomes easy.
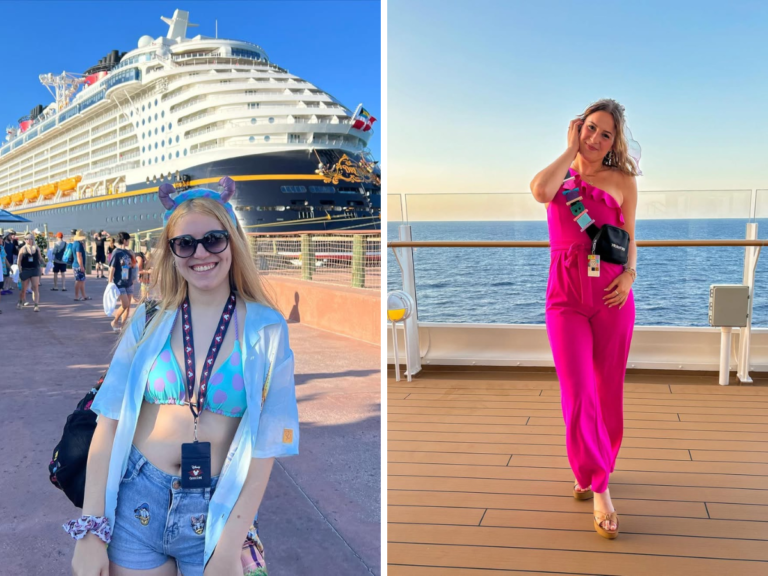
If you want a relaxed trip, go with clean neutrals and shorter length. You won’t have to think about them at all.
If you care about photos, choose a glossy finish with a small detail. It shows up clearly in both sunlight and evening lighting.
If you enjoy dress-up evenings, pick a soft base with a subtle accent. It works during the day and still feels right at night.
Here’s a simple way to decide. Think about what you’ll be doing most on your cruise. Then choose nails that support that, not fight it.
Quick Nail Check Before You Leave
This takes less than a minute but saves you from regret later.
Look at your nails and ask:
Will these match most of my outfits?
Can I manage them easily every day?
Will they still look good halfway through the trip?
If you hesitate on any of these, adjust now.
A small change before you leave is easier than fixing it on the ship.
Final Thought: The Small Detail That Pulls Your Whole Look Together
This is something I didn’t expect at first.
When your nails feel right, everything else feels more put together. You stop noticing them in a bad way and start seeing them as part of your overall look.
I noticed it halfway through my second cruise. Simple nails, clean finish, nothing complicated. But every photo looked better, and I didn’t have to think about fixing anything.
That’s what you want.
Nails that just work.
Get this one detail right, and your trip feels smoother from the start.
Also read:
Disney Cruise Outfits That Work for Every Day
Cruise Photo Ideas That Make Every Moment Feel Like Magic at Sea