Miami Nails Designs That Turn Heads Instantly
I still remember the first time I noticed nails in Miami before I noticed anything else.
It wasn’t the beach. It wasn’t the skyline. It was the way people carried color. Bright pinks under sunlight. Glossy blues catching reflections. Nails that didn’t just match outfits, they led them.
That’s when it clicked. Miami nails aren’t about trends. They’re about presence.
And here’s the part most people miss. Those bold designs don’t work by accident. There’s a reason some nails instantly stand out, while others fade even when the colors are loud.
If you’ve ever tried Miami nail designs and felt like something was off, you’re not alone. I’ve been there too, picking shades that looked amazing online but fell flat in real life.
So in this guide, I’m breaking down what actually works. The colors, shapes, and small details that make Miami nails pop in sunlight, photos, and real life. You’ll walk away knowing exactly how to choose a design that fits you and turns heads the moment you step out.
Let’s get into it.
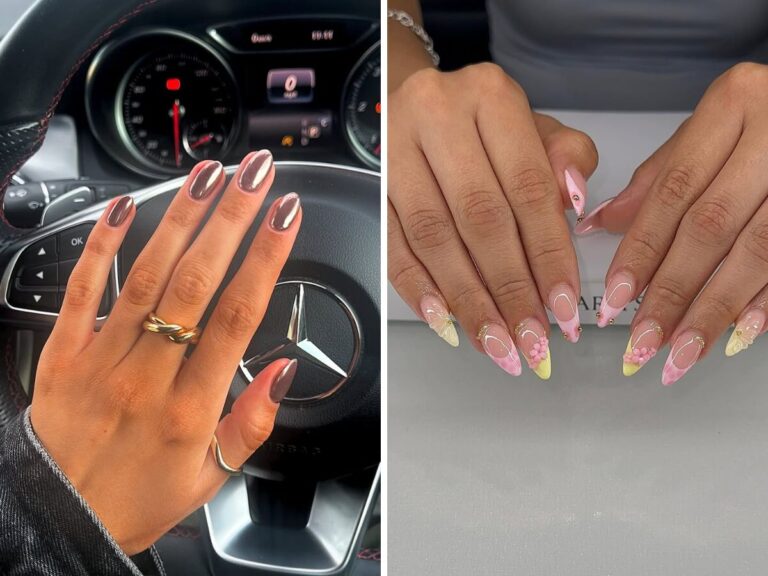
What Makes a Nail Design Feel “Miami”
When I started paying attention, I noticed a pattern. Miami style pulls straight from what surrounds it.
Walk through the Art Deco District and you’ll see it instantly. Pastel buildings, clean geometry, high contrast colors. According to the Greater Miami tourism board, the area is packed with preserved buildings built around bold color and sharp design.
That same energy shows up on nails.
Not in a subtle way. In a way that catches your eye even when you’re not trying to look.
Here is what actually defines the look:
- Colors that react to sunlight, not fade in it
- Shapes that feel clean from a distance, not just up close
- Gloss that reflects light when your hands move
- Designs you can spot in a quick glance, even in a crowd
Try this next time. Hold your hand out in natural light, not indoor lighting. If the color looks flat or disappears, it won’t work in a Miami setting.
I learned this after wearing soft beige on a bright day. It looked polished indoors. Outside, it almost vanished. The moment I switched to high-gloss coral, it started catching light every time I moved my hand.
That’s the difference.
Now let’s get into why bold doesn’t always mean better.
Why Some Bold Nail Designs Still Don’t Work
I’ve messed this up more times than I’d like to admit.
At one point, I had neon pink, glitter, rhinestones, and chrome all on one set. It looked exciting at first glance. But the more I looked at it, the more it felt off.
Here is what was wrong.
There was no focus.
Your eyes didn’t know where to land. Every nail was trying to be the star.
That’s where most designs fail. Not because they’re too bold, but because they’re not controlled.
Another thing I learned the hard way is balance. Miami style can handle strong color, but it still needs structure. If every nail is loud, the overall look starts to blur together.
Then comes lighting.
What looks sharp indoors can completely change outside. According to National Geographic’s Miami guide, the city’s energy is shaped by outdoor living, sunlight, and nightlife. Your nails will move through all of that in a single day.
Here’s a quick check you can use.
Look at your nails in three places:
- Near a window
- Under indoor lighting
- Using your phone flash
If they don’t hold up in all three, the design needs adjustment.
Once I started doing this, I stopped guessing and started choosing designs that actually worked in real life.
So now you know what to avoid.
Let’s make it easier to choose what works for you.
How to Pick a Miami Nail Design That Actually Suits You

This is where most people get stuck. Not because it’s hard, but because they try to copy instead of adjust.
You don’t need to follow trends. You need to match your day.
Start with your skin tone.
If your skin has warm undertones, coral, orange, and gold tend to sit naturally on your hands. I tried icy blue once because it looked good online. In real life, it clashed. Switching to peach tones made everything feel more put together instantly.
Next is nail length.
Long coffin nails look great in photos. But if you’re moving around a lot, traveling, or spending time outdoors, they can get in the way. I remember a beach day where sand and sunscreen kept getting stuck under longer nails. It stopped being fun pretty quickly.
Short almond nails with bold color ended up being easier to manage and still stood out just as much.
Now think about how your day flows.
Morning outside. Afternoon in cafés. Evening under dim lights.
According to Travel + Leisure’s Miami guide, Miami naturally blends beach time, outdoor dining, and nightlife. Your nails should feel right in all three settings, not just one.
Here’s something you can do right away.
Pick one main color that works in sunlight. Then add one detail that shows up under indoor or night lighting, like gloss or a subtle metallic accent.
That way your nails don’t just look good in one moment. They carry through your entire day.
Once you start thinking like this, choosing colors becomes much easier.
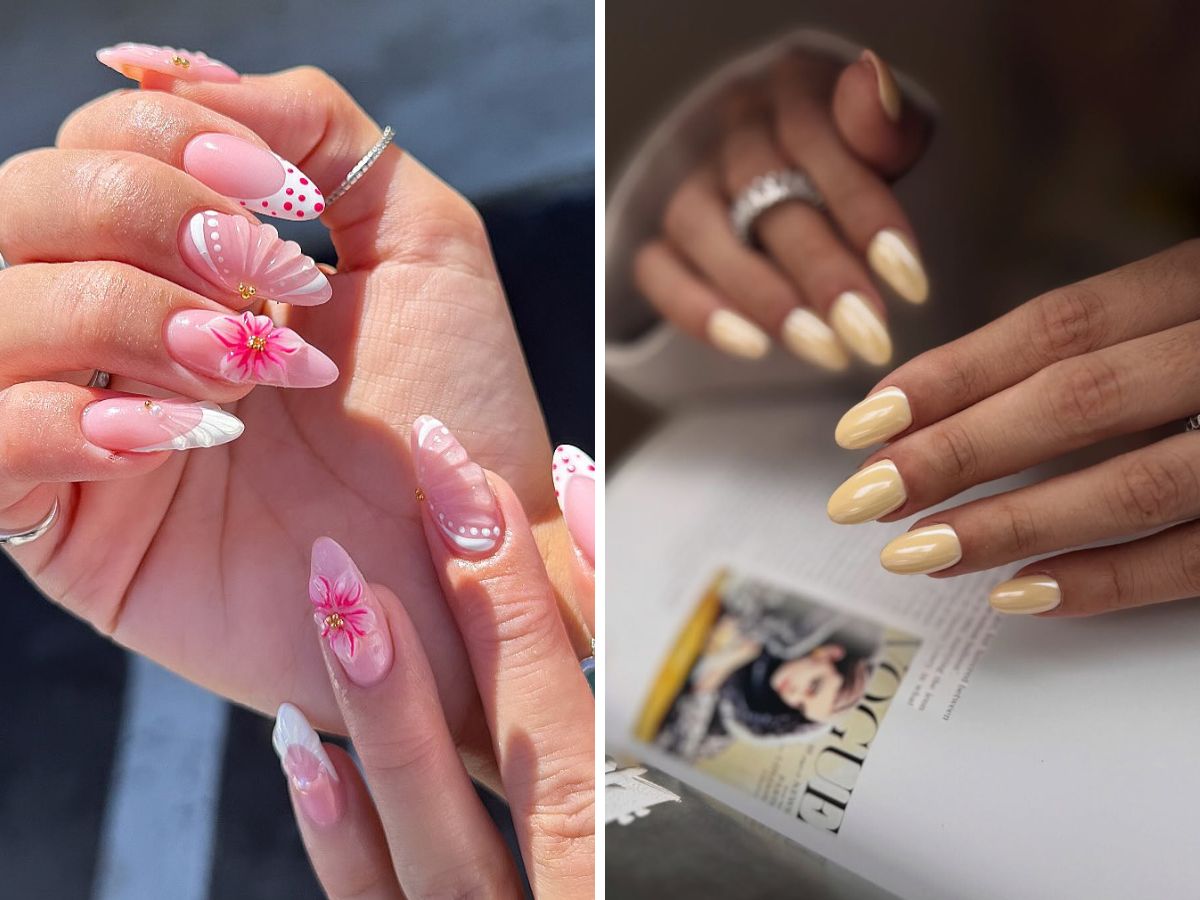
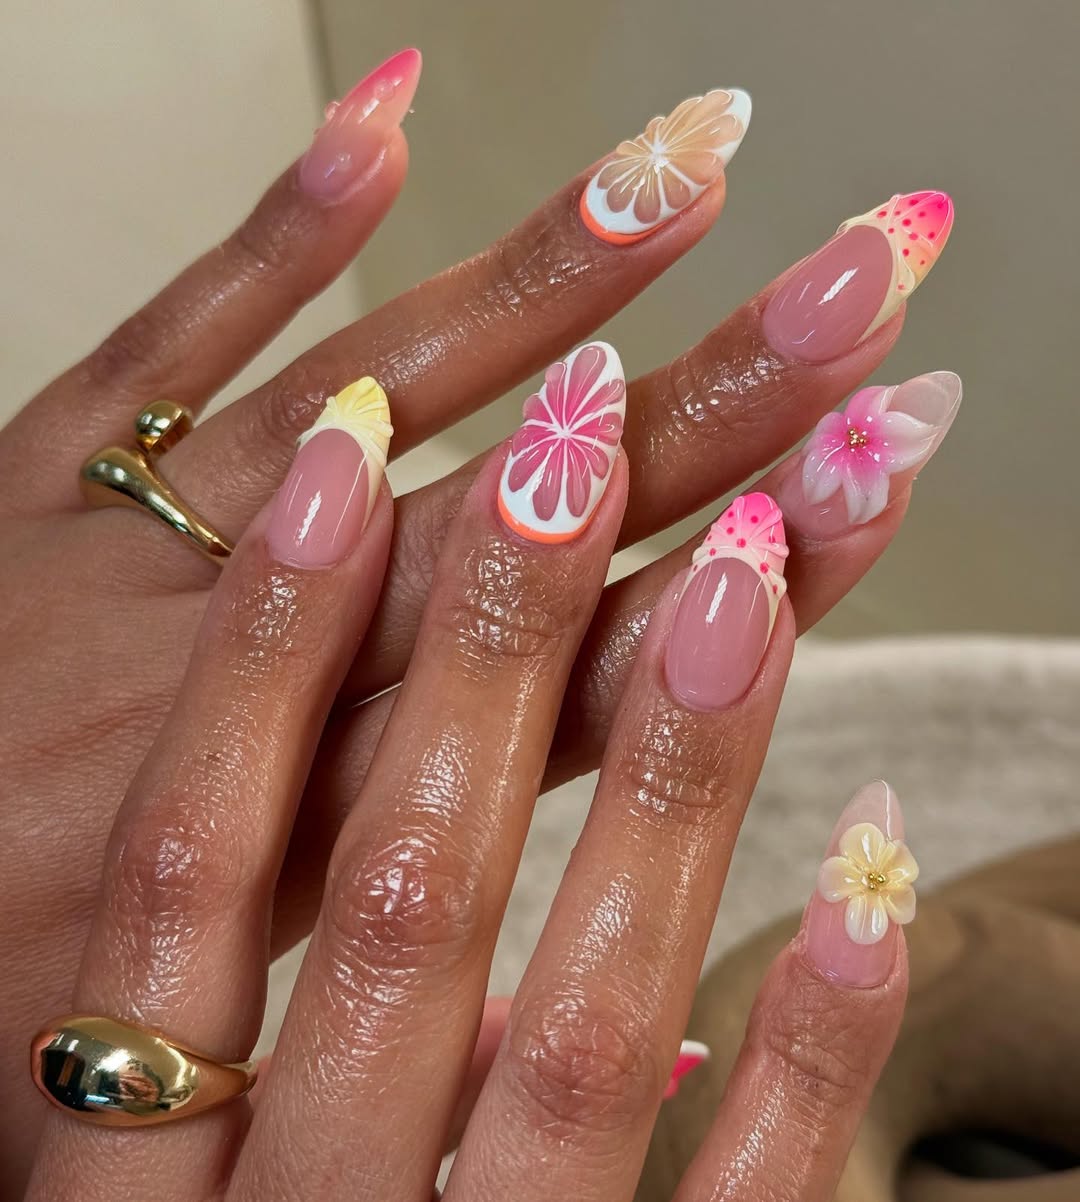
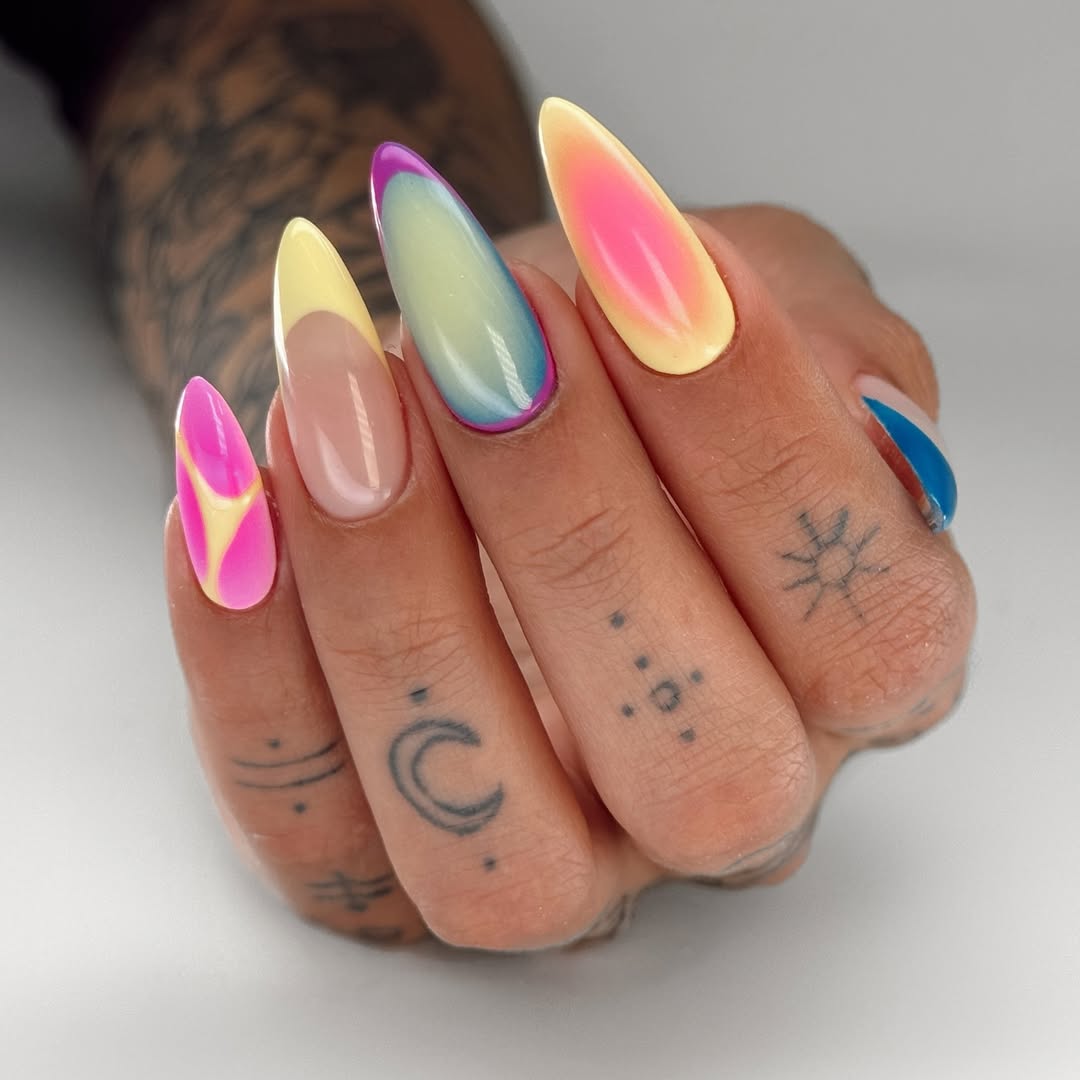
Color Combinations That Always Work in Miami Nails
After trying a lot of random mixes, I started noticing what actually held up outside, not just in photos.
Some colors looked great on my phone. The moment I stepped into sunlight, they felt dull or uneven. That’s when I started testing combinations in real conditions.
Here are the ones that kept working again and again:
- Neon paired with nude gives you contrast without overwhelming your hands. The nude grounds the look, the neon does the talking
- Hot pink and orange feels bold at first, but under sunlight, it looks natural and full of energy
- Aqua blue with white accents feels clean and sharp. I wore this before a coastal walk and noticed how it stayed visible even in bright glare
- Gold with tropical tones works best later in the day. Under indoor lighting or flash, it reflects just enough to stand out without feeling heavy
Here’s something you can try right away.
Before committing to a color, hold it near a window or step outside for a minute. If the color shifts too much or loses depth, it won’t hold up through the day.
The reason these combinations work is simple.
They reflect the environment around them.
According to Lonely Planet, Miami blends beaches, Art Deco visuals, and a mix of cultural influences. That contrast shows up in colors that feel both relaxed and bold at the same time.
Now that your colors are right, the next step is what actually makes them stand out.
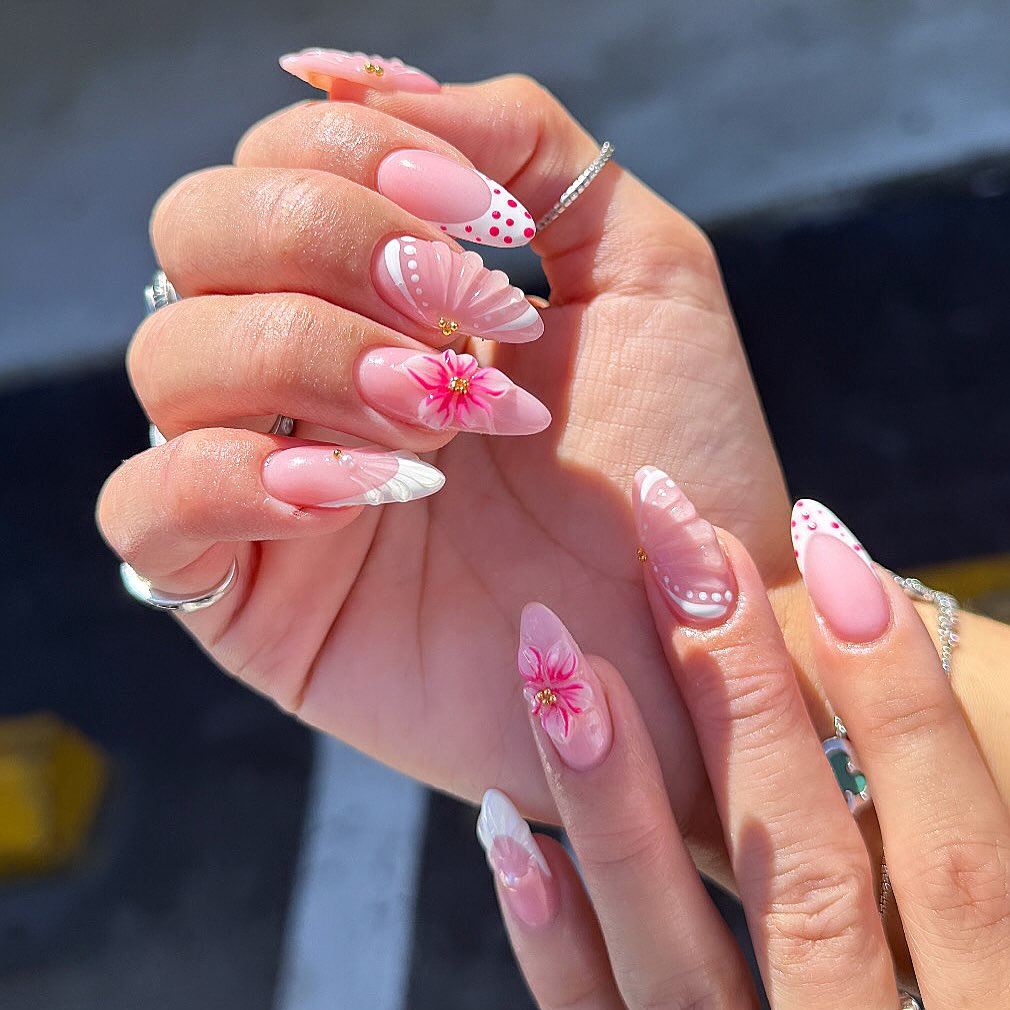
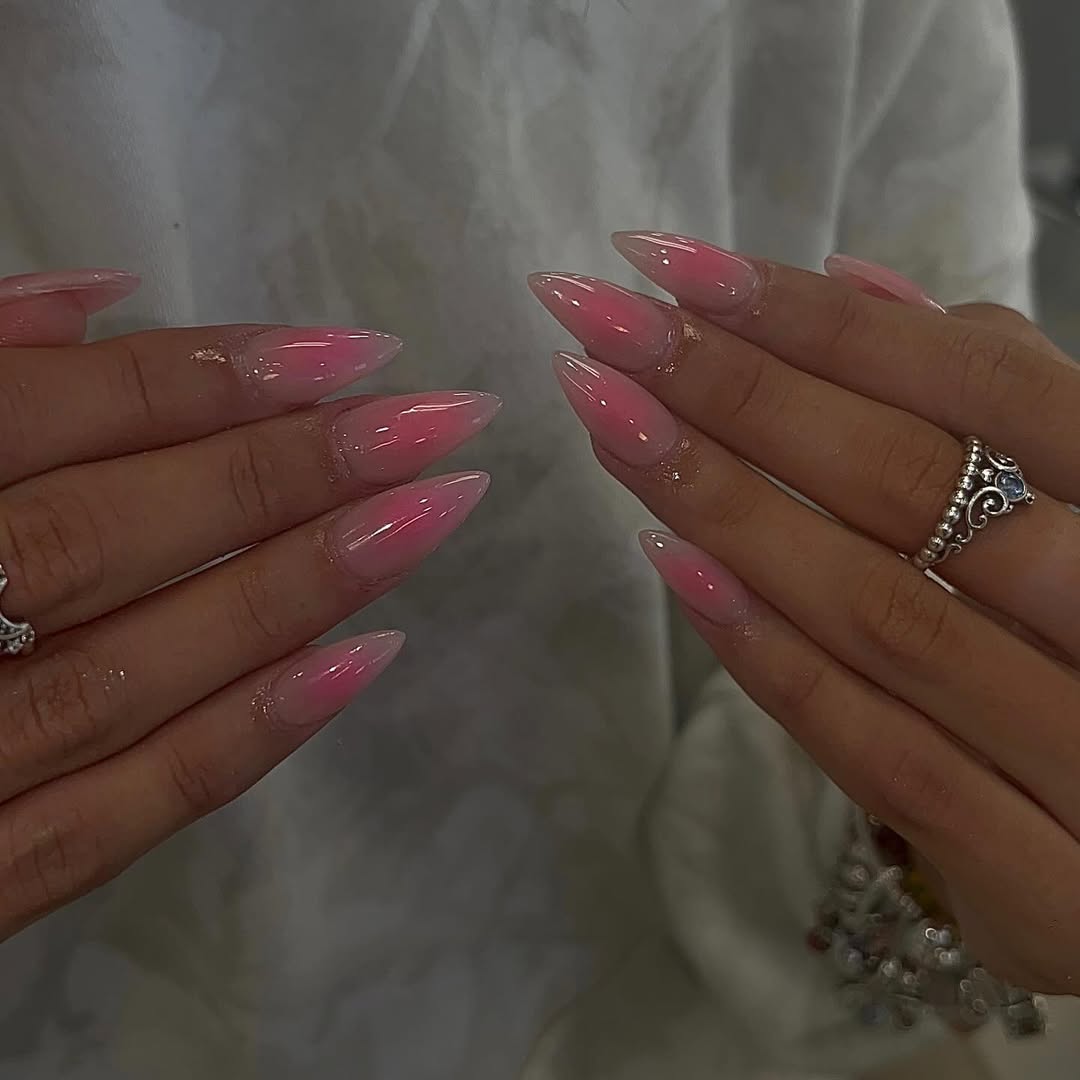
Design Details That Instantly Upgrade Your Nails
You don’t need complex designs to stand out.
You need details that react to light and movement.
The first time I switched from a flat finish to chrome, I noticed the difference immediately. The same color suddenly had depth. It caught light every time I moved my hand.
That’s the kind of shift you want.
Chrome is one of the easiest upgrades. Even a simple base color feels more refined with a reflective layer.
Rhinestones can work, but placement matters. One or two placed near the cuticle or edge looks intentional. Covering every nail usually takes away from the design instead of adding to it.
Clean lines and negative space help your design breathe. I tried a minimal swirl pattern once, and it stood out more than heavier designs I had before.
Now look at your finish.
In strong sunlight, matte can look flat. Gloss creates movement. It reflects light, shifts as you move, and gives your nails that extra presence.
Quick test.
Turn your hand side to side under light. If the surface doesn’t change or catch anything, it’s missing that final layer.
And this is where most people overlook something important.
Shape.
Nail Shapes That Make Designs Stand Out More
I used to pick shapes based on what looked good on others. That didn’t always translate well.
The same design can feel completely different depending on shape.
Coffin nails stretch everything out. Colors look stronger, and designs feel more dramatic.
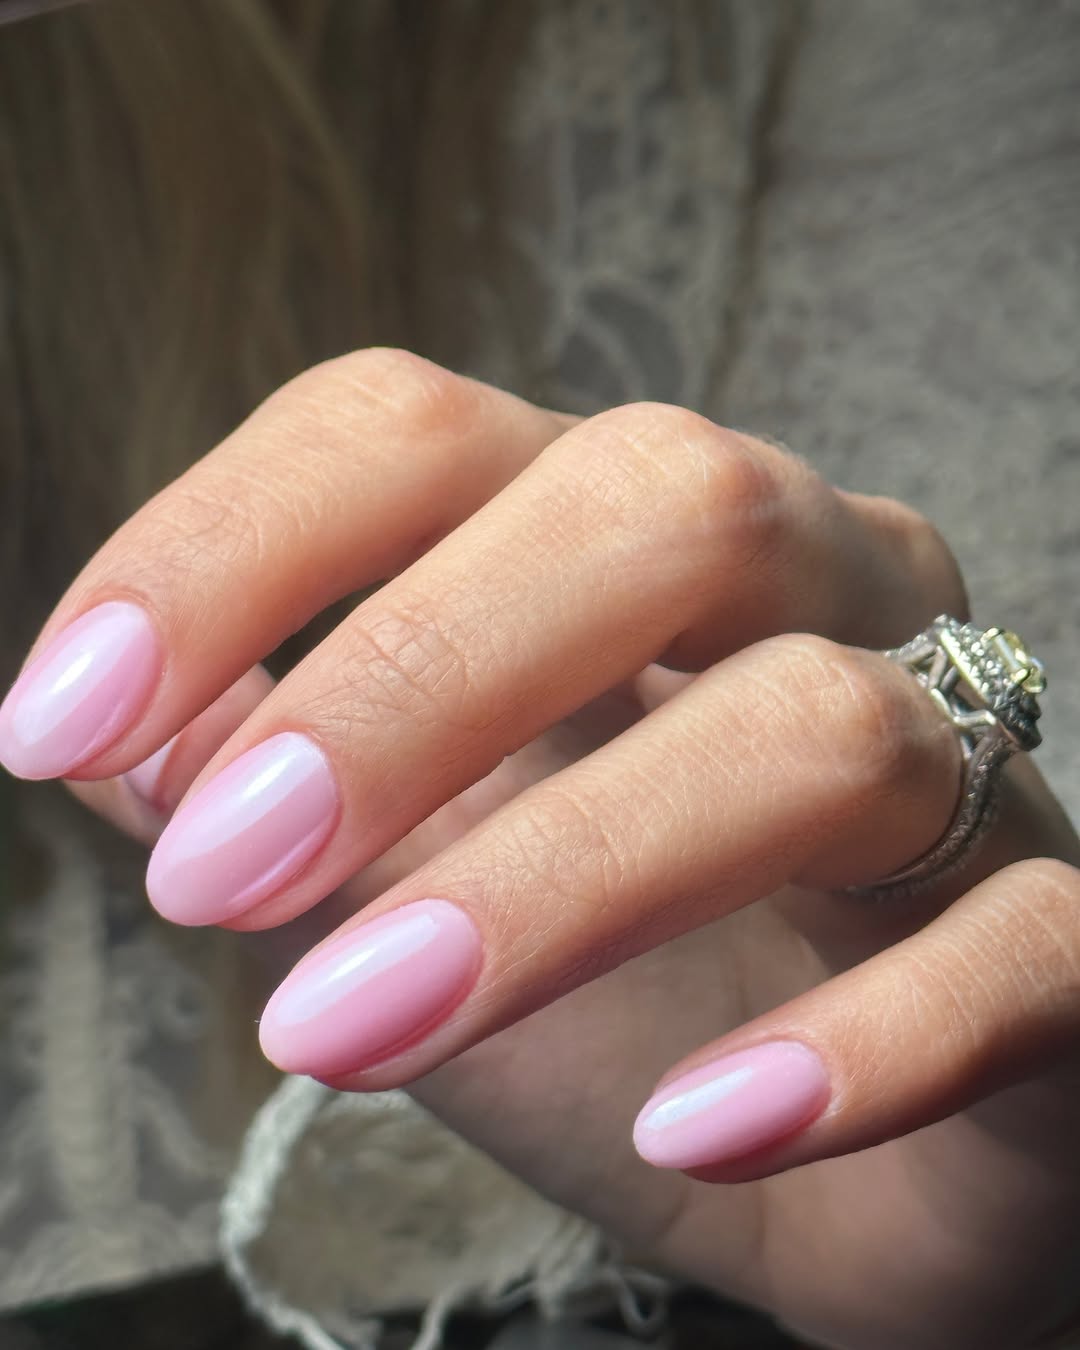
Almond shapes soften bold colors. If something feels too loud, this shape balances it without changing the design.
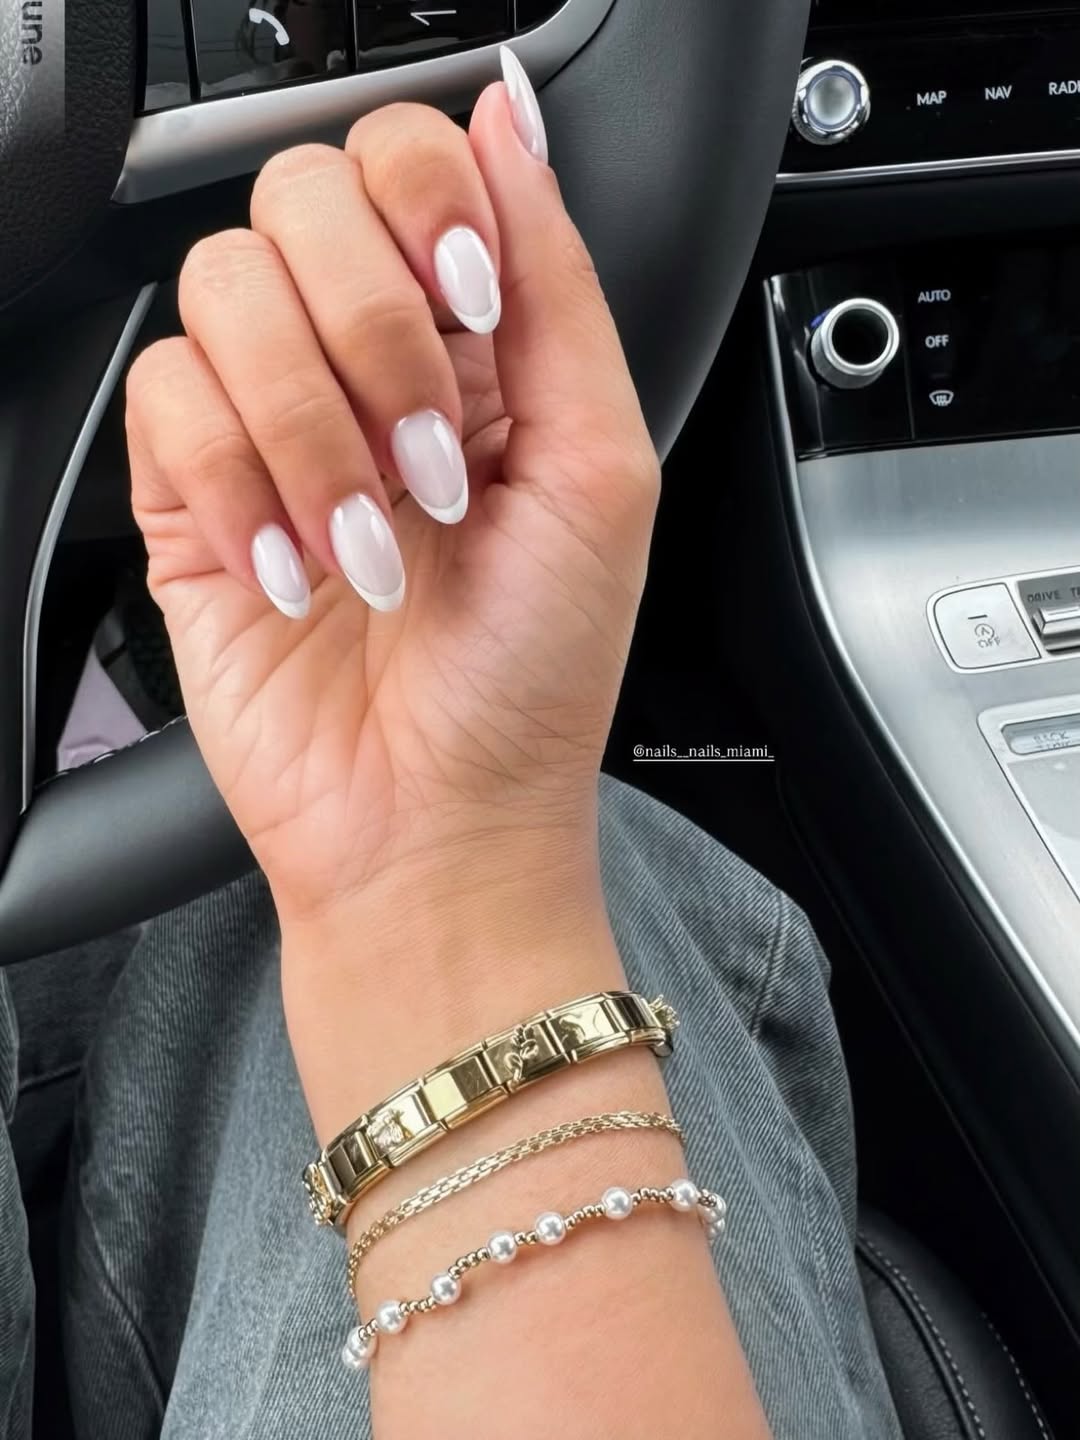
Square nails give structure. They work well when your design is simple and you want a clean finish.
Here’s a simple way to decide.
If your design already has strong color or detail, go with a softer shape like almond to keep it wearable.
If your design is minimal, go with a sharper shape to add edge without adding more elements.
I started doing this and stopped second-guessing my choices.
Once shape, color, and design are working together, there’s one more thing that can ruin everything if ignored.
Real-world conditions.
How to Make Your Nails Last in Heat, Water, and Sun
Miami conditions test your nails fast.
Heat, humidity, saltwater, and sunscreen all hit your hands throughout the day.
I noticed this after a beach day where my polish started lifting earlier than expected. It wasn’t the design. It was how I maintained it.
Here’s what actually makes a difference.
Reapply a top coat every few days. It keeps the surface sealed and maintains that reflective finish.
After being in saltwater, rinse your hands with fresh water. Salt can break down the outer layer over time.
And here’s the part most people skip.
Protecting your skin.
The American Academy of Dermatology, recommends using SPF 30 or higher on your hands, especially with gel manicures. Sun exposure affects both your skin and how your nails hold up over time.
I started doing this regularly and noticed fewer chips and less dullness.
It’s a small step, but it changes how long your nails actually last.
Now let’s take everything up a level.
Quick Ways to Make Any Nail Design Look More Expensive
This is where small changes make the biggest difference.
Clean cuticles can upgrade even the simplest design. If the base looks neat, everything else looks better.
Even color application matters more than adding extra details. One solid, smooth color will always look better than a detailed design done unevenly.
Finish is what people notice without realizing it.
A strong gloss layer adds depth and makes your nails look fresh longer.
Here’s something you can check right now.
Look at your nails up close. If you see uneven edges, dull spots, or inconsistent shine, fixing those will improve the overall look instantly.
And then there’s the final piece.
Confidence.
The best nails I’ve seen in Miami weren’t always the most detailed. They stood out because they felt intentional and worn with ease.
Bringing It All Together
Miami nails aren’t about copying what you see online.
They’re about knowing how color, light, and movement work together on your hands.
Once you start paying attention to that, your choices become easier and your designs start working in real life, not just in photos.
Next time you pick a design, take a moment.
Check it in natural light. Think about where you’ll be wearing it. Notice how it moves when your hand moves.
That’s when your nails stop fading into the background.
And start getting noticed without trying too hard.
Also read:
What to Wear in Miami if You Love Fashion That Feels Like Vacation