Disneyland Photo Ideas You’ll Wish You Tried Sooner
The first time I walked down Main Street at Disneyland, I did what everyone else did — stopped right in front of the castle and took a photo. The shot was fine, maybe even pretty. But when I looked at it later, I realized it could’ve belonged to anyone. It didn’t feel like my memory, just another version of the same picture a million others had already taken.
That trip changed how I think about photos at Disneyland. I stopped chasing perfect poses and started noticing what made the park feel magical — the small details, the light before sunrise, the laughter I didn’t plan to capture.
Those moments told my story better than any postcard shot ever could.
That’s why I’m sharing these Disneyland photo ideas — not the usual “stand here, smile there” kind, but the ones that make your photos come alive. Inside, you’ll find how to capture real emotion, work with natural light, use motion to tell a story, and see the park in ways most people miss.
Whether you’re carrying a camera or just your phone, these tips will help you bring home photos that feel like Disneyland — not just look like it.
Start Before the Gates Open
My favorite tip? Arrive early. Guests who stay at the resort often get early entry or first access before the crowds pour in.
When the gates open and the park is still waking up, there’s something almost unreal about it. The air smells like fresh popcorn, faint music drifts down Main Street, and the sunlight feels soft instead of harsh.
Here is why:
- You’ll get clear views of Main Street, Sleeping Beauty Castle, and balloons floating high without a crowd blocking your shot.
- Morning light adds a calm glow that makes every photo feel softer and more personal.
Try this:
Arrive about half an hour before opening. Head straight for the central hub, take a few quick shots, then step back and capture the scene again once the sun lifts. That early “quiet park” photo anchors your whole story.
As the park fills, you’ll already have the moment everyone else misses—so you can focus on the rest of your day.
Capture the Small Magic — Not Just the Big Landmarks
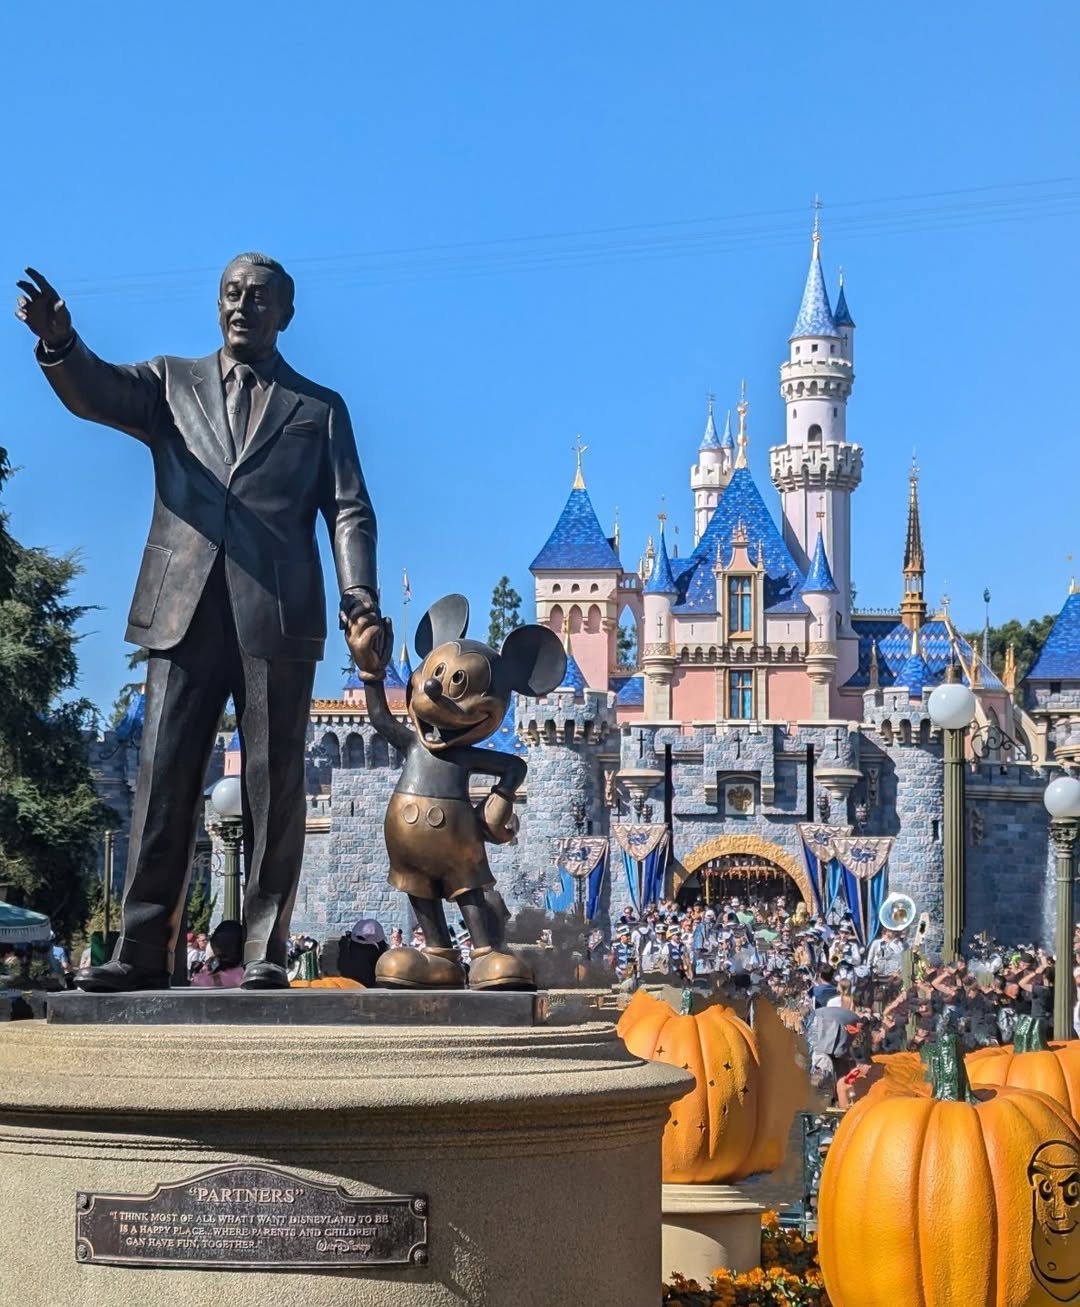
The big scenes are beautiful, but my most memorable photos came from smaller moments—the popcorn cart steaming beside the curb, a balloon brushing a lamppost, or a puddle catching the castle’s reflection after rain.
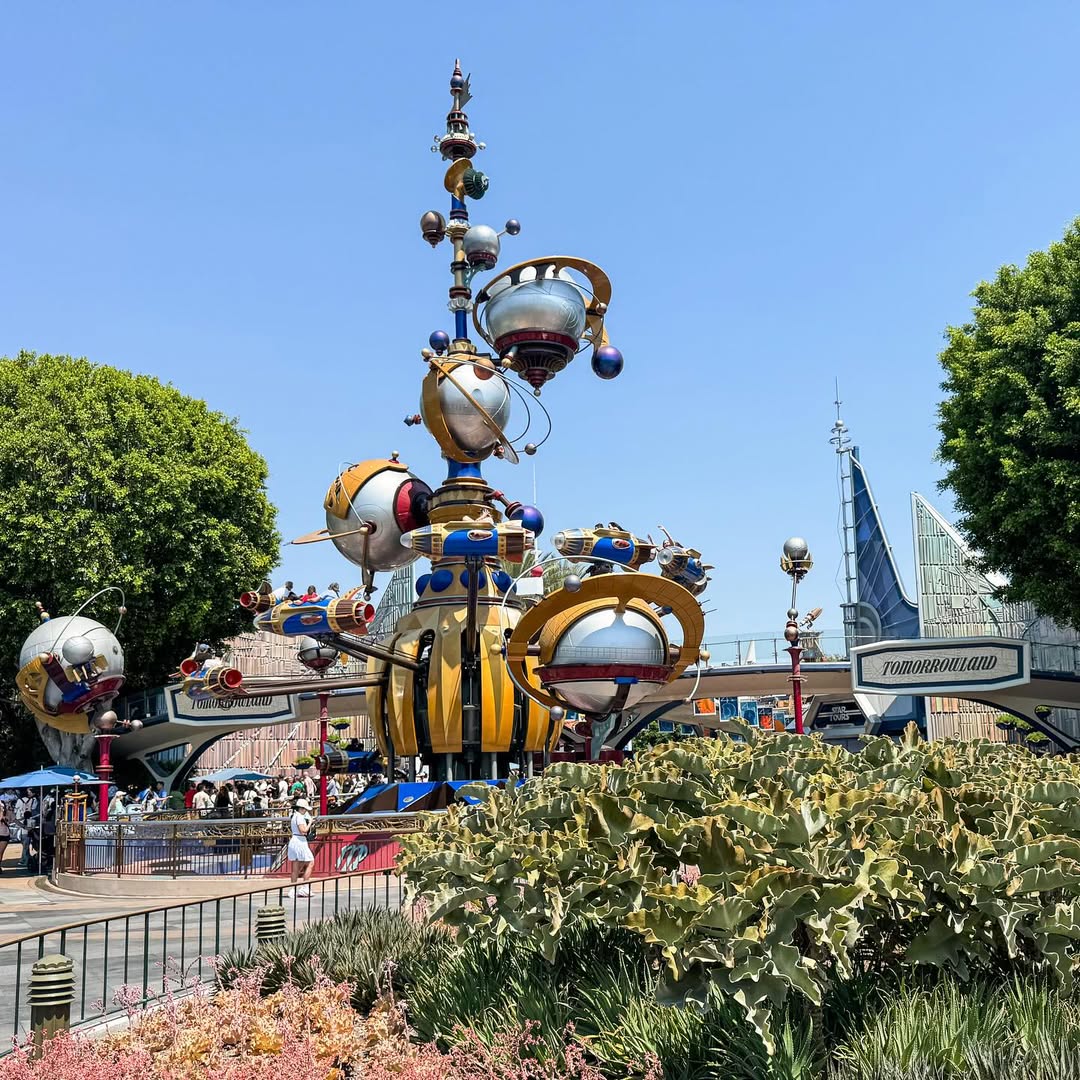
According to The Happiest Blog on Earth, the best Disneyland photo spots include hidden gems like the Partners Statue, Galaxy’s Edge walkways, and even a pink teacup tucked in Fantasyland. These go beyond the classic castle frame.
Try this:
Keep your camera handy and stay curious. Notice what others pass by—the color on a wall, a snack in your hand, or the shadow pattern near Adventureland. Shoot from a child’s eye level or slightly off-angle to make it feel real.
These smaller shots hold emotion; they pull the viewer into your day instead of just showing them what you saw.
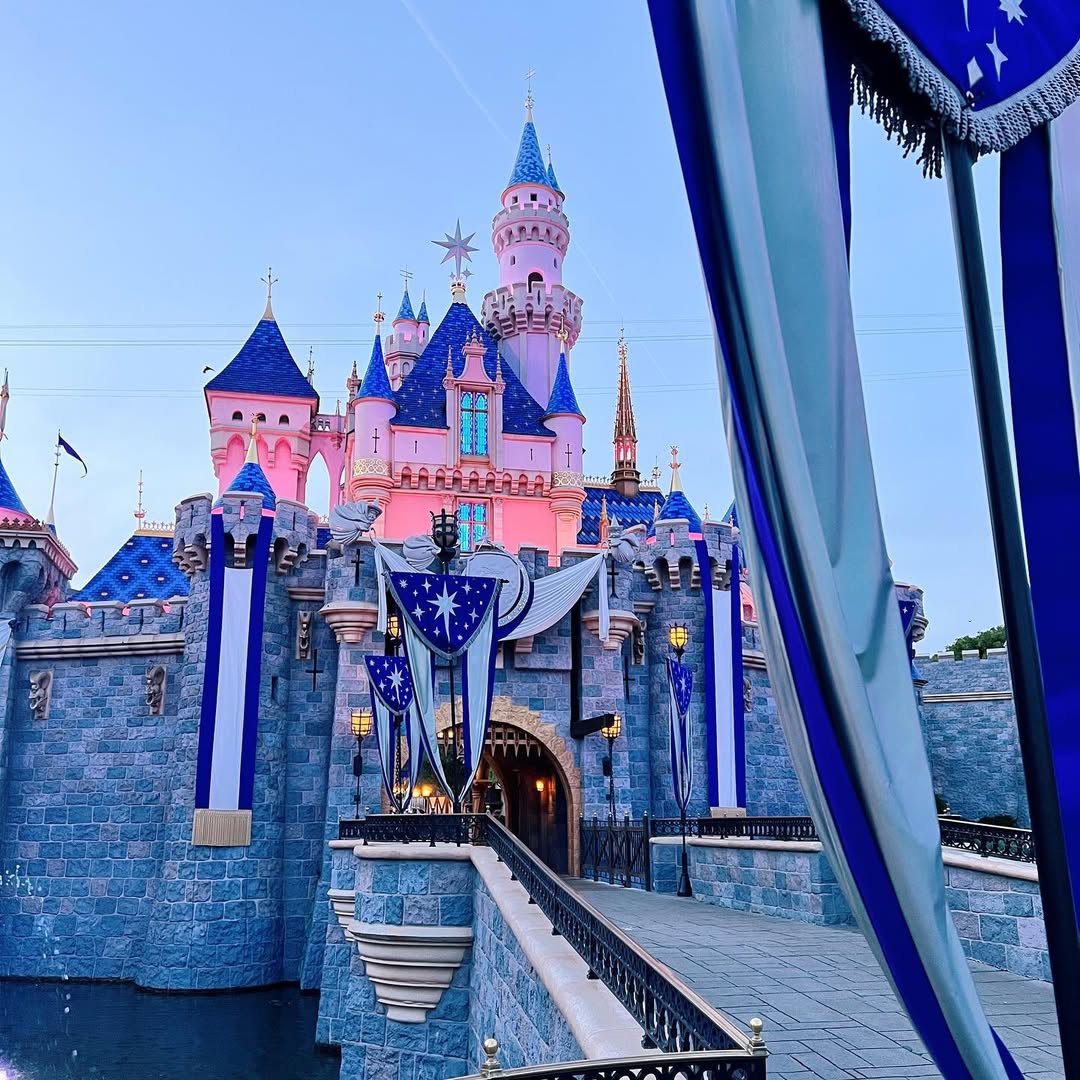
Use Natural Light, Not Flash
I used to rely on flash and hated the results. Everything looked flat. Once I started using natural light, the park came alive. At Disneyland, the blend of architecture and color rewards patience.
National Geographic explains that golden-hour light “bathes your subjects in warm, soft light, creating a magical atmosphere.” That’s exactly how it feels near sunset when the turrets glow or when reflections shimmer across Tomorrowland’s metal edges.
Try this:
When the sun is low, turn your subject toward the light and lower the exposure slightly. Skip the flash. Take a few frames and pick the one where the glow wraps gently around the edges instead of washing them out.
Soft light adds emotion to your images. Once you start seeing it, you’ll notice how it changes the whole feel of your story.
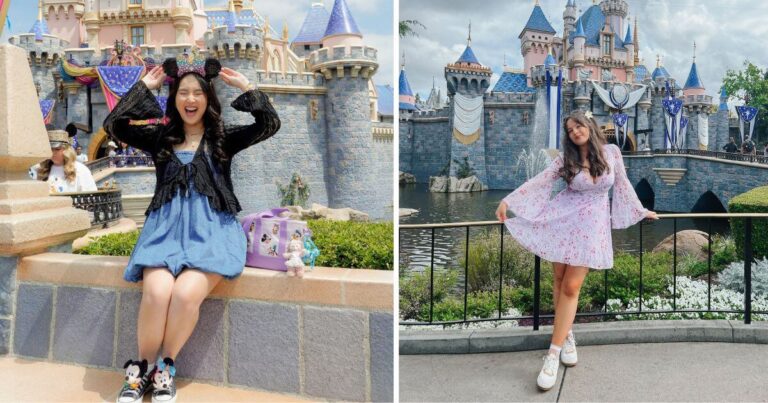
Catch Real Emotions, Not Posed Moments
Some of my worst photos were the posed ones. What stuck with me were the moments that weren’t planned—a friend laughing during the parade, a surprised face during the drop on Space Mountain, the quiet awe during fireworks.
During one visit, I set my phone to burst mode on the Mad Tea Party. One frame caught me mid-laugh with spinning colors all around. It wasn’t perfect, but it felt alive.
Try this:
Hand your camera to someone before a ride and tell them to shoot while you’re lost in the moment. Don’t stop to pose. When you scroll later, keep the one where you look fully present—that’s the real story.
Those small, unplanned shots are the ones that keep your album honest.
Next comes the fun part—adding movement to those emotions.
Use Motion to Tell the Story
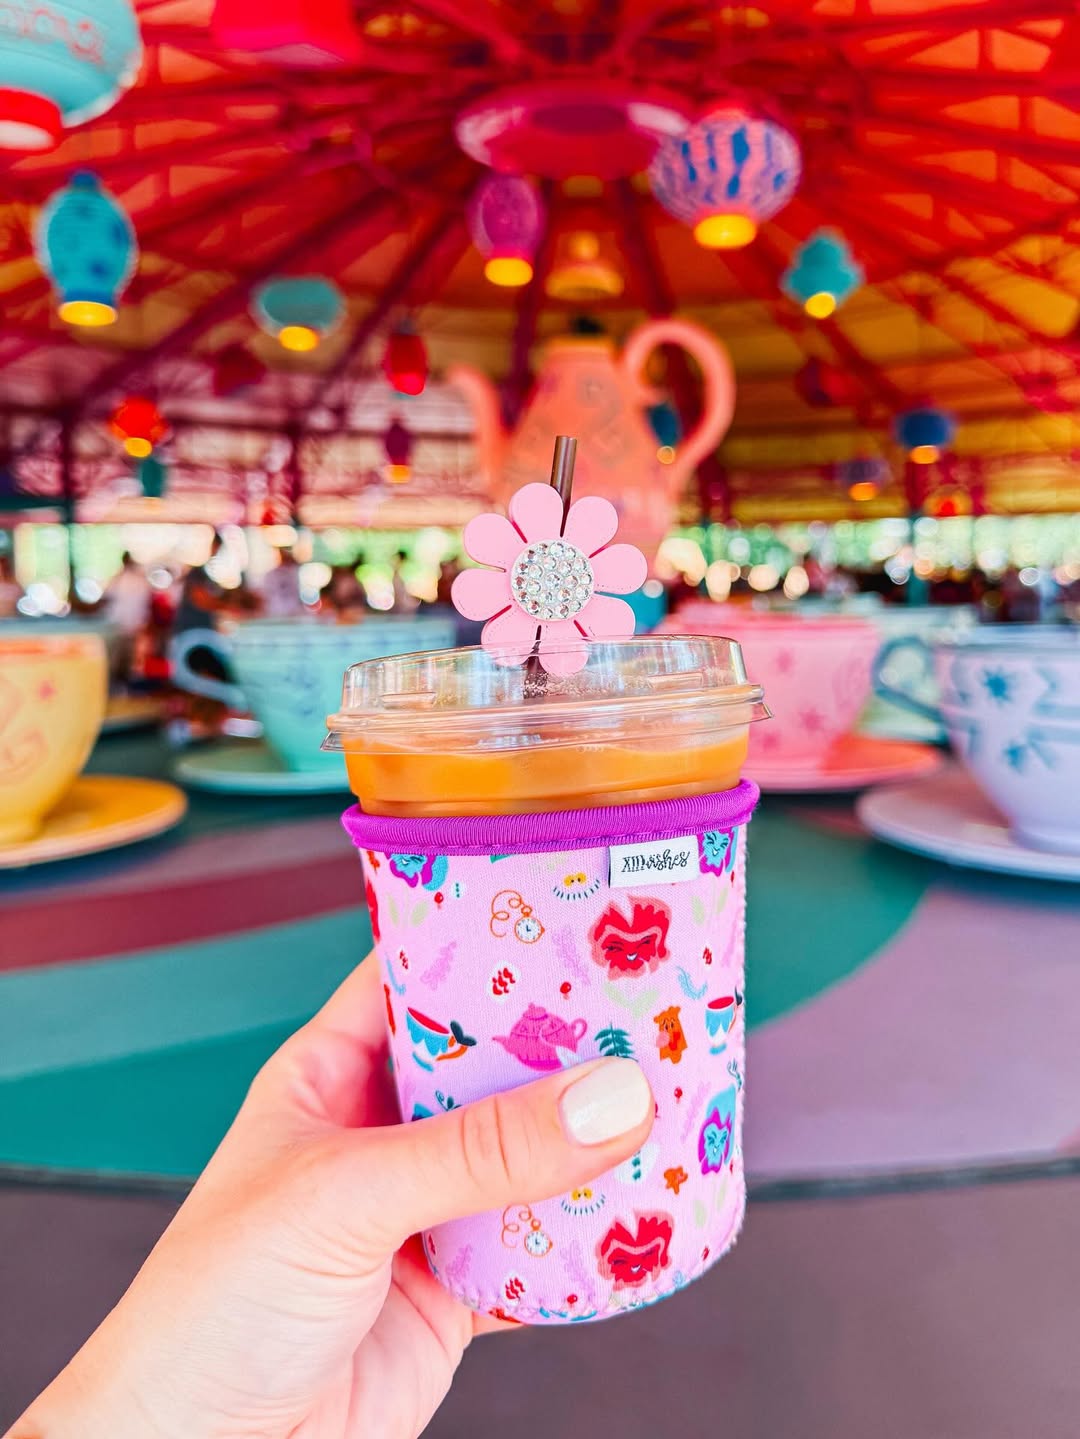
Movement adds life. Whether you’re on the carousel, spinning in teacups, or walking under floating balloons, motion gives context.
Nikon explains that faster shutter speeds freeze action, while slower ones create artistic blur.
Try this:
On a camera, use a shutter around 1/500 to freeze motion or around 1/30 to show motion blur. On a phone, burst mode or Live Photo works well.
When I spun on the teacups, I panned the camera as I turned—my shape stayed sharp while the background blurred into color streaks. The photo feels like motion itself.
You’ve now got emotion and movement. Let’s find the best backdrops to tie it all together.
Think Beyond the Castle
The castle will always be the icon, but Disneyland is full of hidden frames that tell deeper stories.
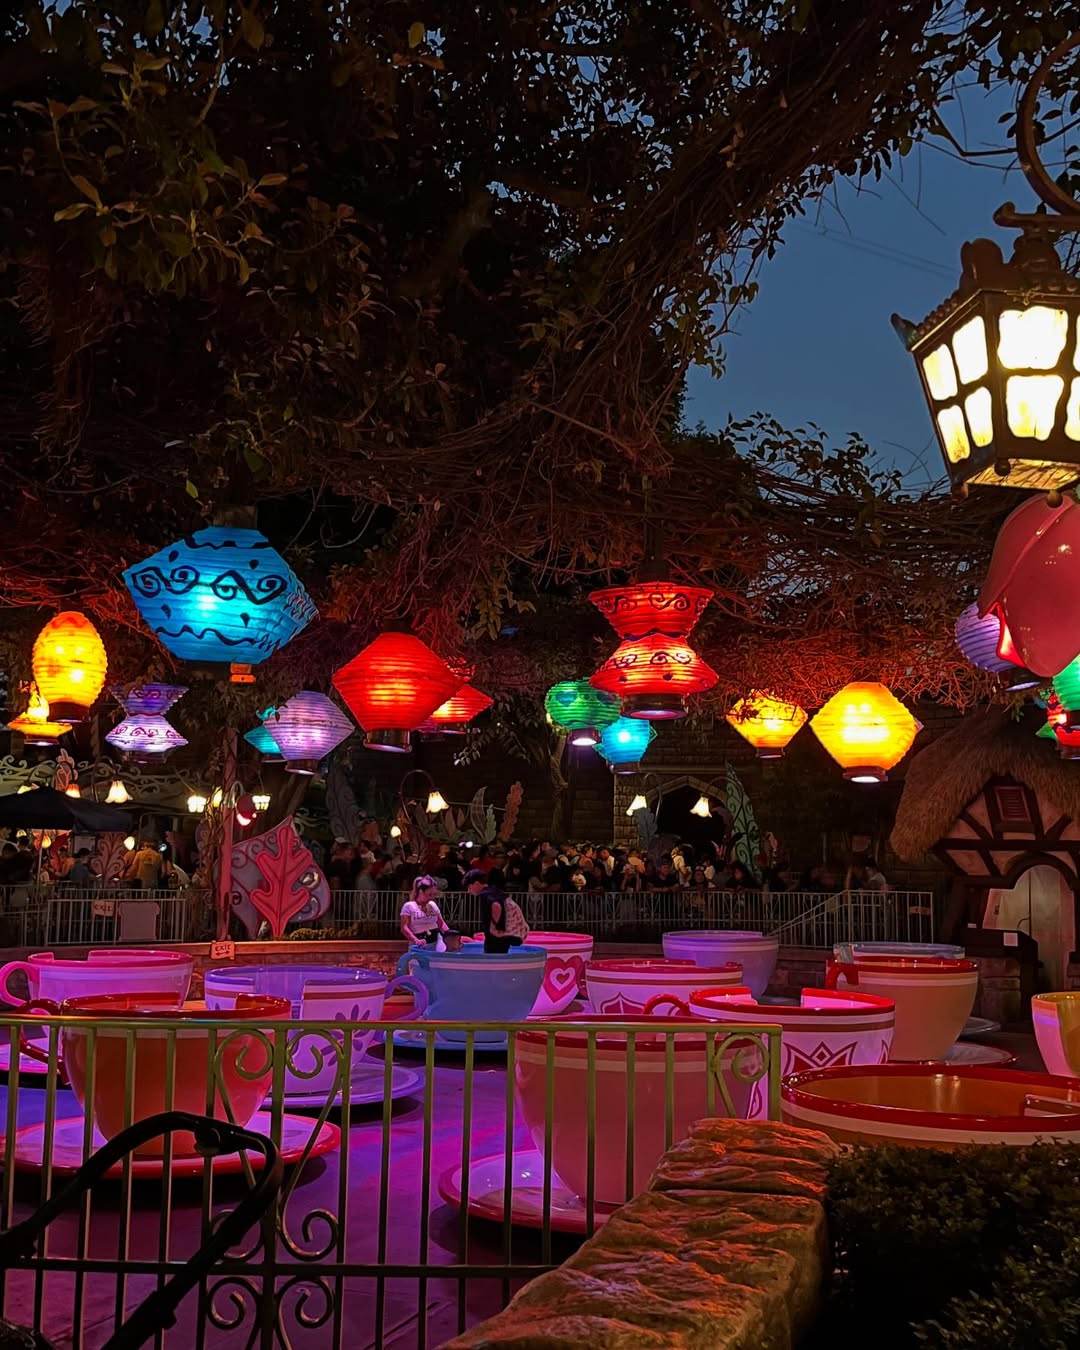
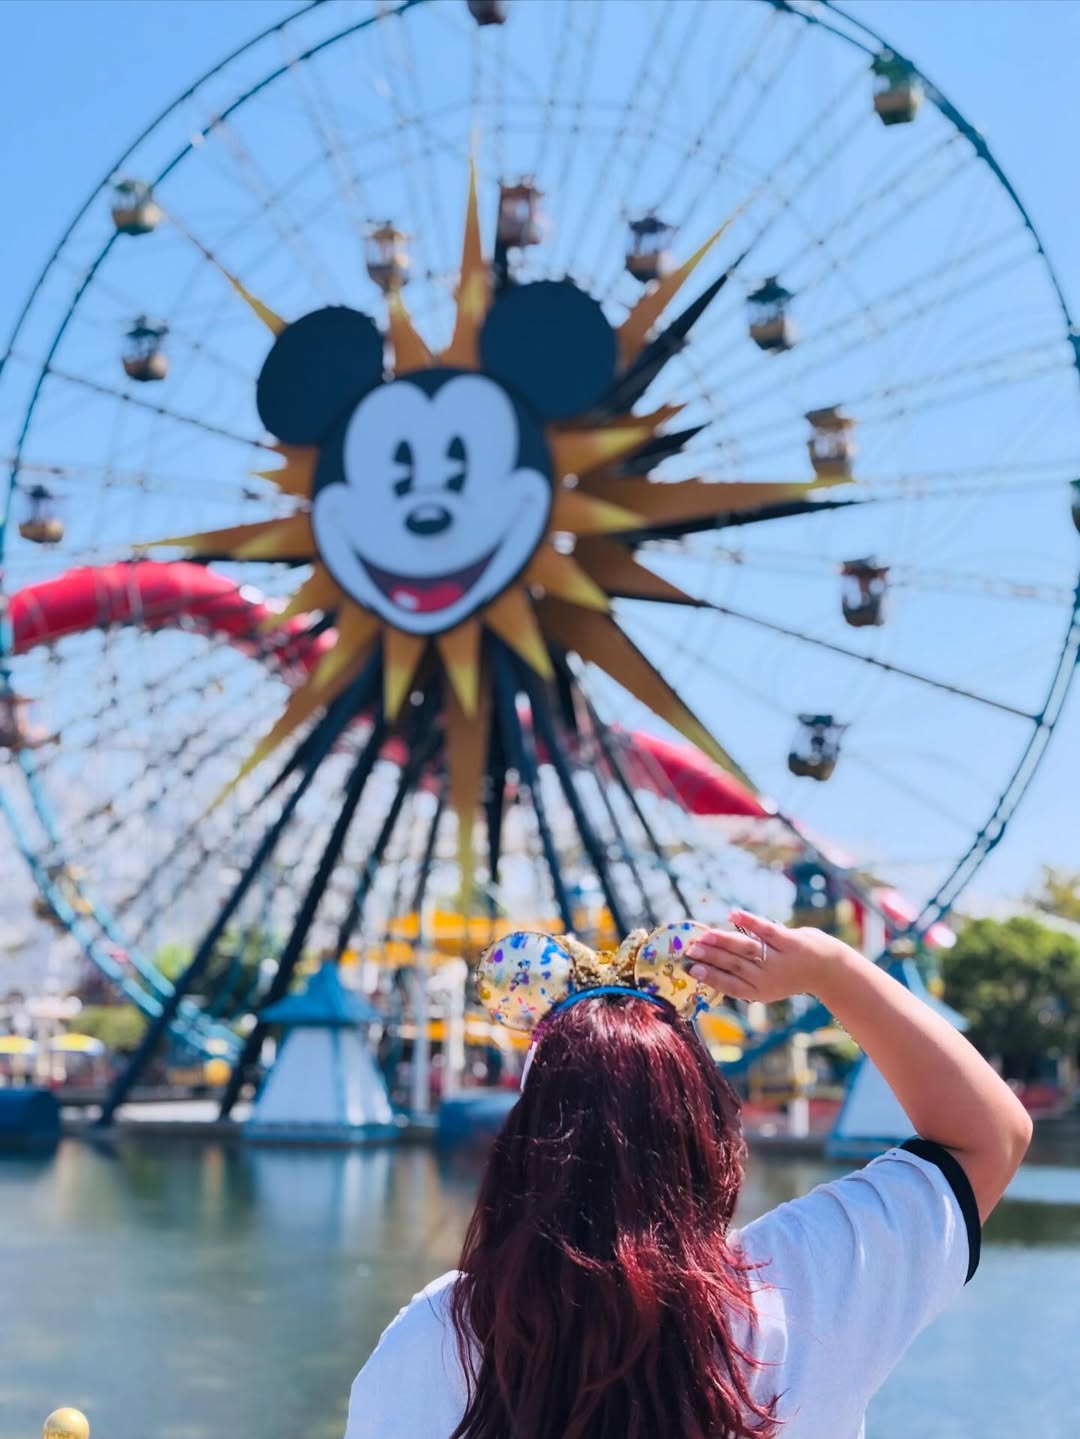
Disney Parks Blog highlights underrated spots like Pixar Pier at dusk and the Mad Tea Party’s glowing lanterns.
Try this:
Before your trip, pick two backdrops that feel different from what’s on everyone’s feed—maybe a neon sign at Galaxy’s Edge or a shadowy corner of Adventureland. When you shoot, take one wide photo, one close detail, and one of you in the scene.
These images stand out online because they look real. They show your Disneyland, not the one on every postcard.
Once you have those frames, it’s time to give them warmth and tone.
Edit for Warmth, Not Perfection
When the day winds down, spend a few minutes choosing your favorite ten photos. Editing isn’t about fixing flaws—it’s about keeping the emotion that made you press the button.
Adobe’s Lightroom Mobile guide explains how simple exposure and color adjustments can bring photos to life.
Try this:
In Lightroom Mobile or Snapseed:
- Raise exposure slightly (+0.2 to +0.4).
- Warm the tones (+10 to +20).
- Increase saturation just a touch (+5 to +10).
- Crop and sharpen lightly.
Then ask yourself, “Does this still feel like that moment?” If it does, stop there.
Now you’re ready to turn those single shots into one continuous story.
Create a Visual Story from Start to Finish

A great Disney photo album feels like a day unfolding, not random uploads. I group my photos as small chapters—arrival, laughter, movement, sunset, and the calm walk out. National Geographic suggests arranging images by emotion and light to “tell a visual story.”
Try this:
Make an album titled Disney Dream Day – [Date] and order your photos in this flow:
- Walking toward the gate.
- Morning castle glow.
- Snack or detail moment.
- Ride or laughter shot.
- Sunset frame.
- Motion blur or parade.
- Night reflections.
- Final exit or candid smile.
Add a few words beneath each image to remind yourself what you felt.
When you build a story this way, you don’t just remember Disneyland—you relive it.
Read more: What Belongs on Every True Fan’s Disneyland Bucket List.
Frequently Asked Questions
When is the best time of day to take photos at Disneyland?
Early morning and late afternoon are ideal. The crowds are thinner, and the light is soft enough to add warmth without harsh shadows. The park feels calmer, and your photos will reflect that quiet energy.
Do I need professional gear for good Disneyland photos?
Not at all. A phone camera can capture beautiful shots if you pay attention to lighting and angles. The difference comes from timing and observation, not equipment.
Can I use a tripod or selfie stick inside the park?
Disneyland does not allow full tripods or selfie sticks, but you can bring a small grip pod that fits in your bag. It helps steady your camera for night shots or light trails.
What are some lesser-known photo spots?
Try the Toon Town bridge, the side of the castle near Snow White’s Grotto, or the view from the Mark Twain Riverboat. These areas stay quieter while still showing classic Disney charm.
How do I edit my photos without losing their natural look?
Start with light adjustments—exposure, warmth, and a bit of contrast. Avoid heavy filters. You want your edits to keep the colors you actually saw that day.
Conclusion: The Magic Is in How You See It
When I think back on my favorite Disneyland photos, they’re never the perfect ones. They’re the small flashes of joy—a shared laugh, the glow before sunset, or the calm before Main Street wakes up. The camera just helped me remember what it felt like to be there.
So next time you visit, skip the race for the same photo everyone else takes. Look for what feels true to your day.
The smell of caramel popcorn, the sparkle in a kid’s eyes, the reflection in a puddle after a ride—all of it tells your story better than any filter ever could.
If these Disneyland photo ideas spark a few new ways to see the park, I’d love to hear your thoughts. Drop a comment below:
What’s your favorite hidden photo spot—or the one picture from Disneyland you’ll never delete?