My Favorite Patagonia Outfit for Hiking and Photos
I still remember stepping out into the sharp wind near El Chaltén.
The sky had every shade of gray and blue, the peaks looked close enough to touch, and I realized this wasn’t the kind of place where you could fake your outfit.
Patagonia demands gear that earns its spot in your pack — clothes that work on the trail and look good when the camera comes out.
If you’ve ever tried to look pulled together after a long hike, you know the challenge.
The weather shifts by the hour, your backpack rubs against everything, and somehow you still want those photos that feel effortless.
That’s what this guide is really about — finding the gear that moves with you, keeps you comfortable, and photographs naturally.
By the time you finish reading, you’ll know exactly how to build an outfit that handles Patagonia’s wild moods and still looks good in every shot.
Let’s start where every trip begins — with the layers that make all the difference.
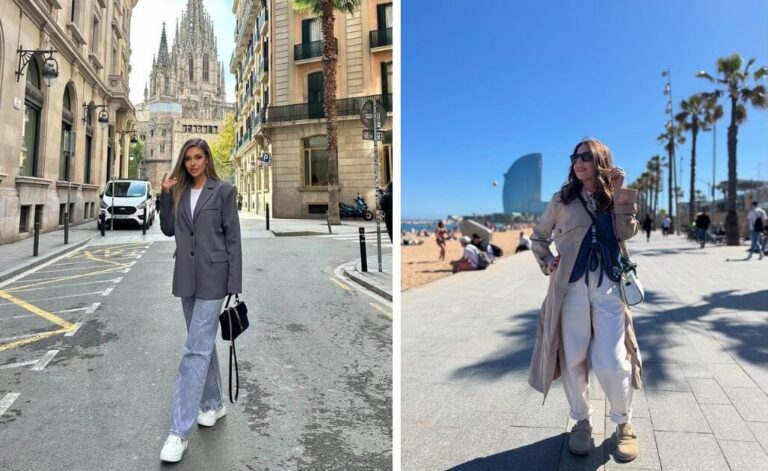
What Makes a Patagonia Outfit “Photo-Ready”
Hiking in Patagonia means dressing for both motion and memory. The bright glaciers and moody skies can wash out pale tones, so I pack warm neutrals or deep colors that stand out against the ice.
A good outfit should stretch when you move, resist wind, and layer without bulk.
You’ll feel it the moment the wind hits — every layer either works or it doesn’t.
According to Travel + Leisure, temperatures here can swing from freezing to warm and sunny in a single day, so layers and a waterproof jacket aren’t optional — they’re survival gear.
Once, I started a trail in gloves and ended it rolling up my sleeves in the sun.
Here’s why that matters: Flexible layers let you adapt fast and look natural in photos. You can unzip a shell when the light changes and still look pulled together.
Next, let’s build a Patagonia hiking outfit that holds up when the trail — and the weather — both test you.
Also read:
The Real Hiking Layers That Work
The system that never fails me follows National Geographic’s “Think in Threes” rule — a fast-drying base layer, a warming fleece or sweater, and a light shell for wind or rain.
That first layer handles sweat; merino wool or synthetics keep you dry when the climb gets steep. Cotton stays damp and cold, so skip it.
For warmth, I like a fitted fleece — it keeps shape for photos and traps heat close. My shell is a thin windproof jacket with sealed zippers; Patagonia’s gusts can turn harmless drizzle into sideways rain within minutes.
Each layer pulls its weight — practical on the trail, flattering when the camera’s out.
If you’re short on space, pick pieces that work double duty — a mid-layer fleece that looks good enough for dinner in El Chaltén saves space in your pack.
Footwear That Balances Comfort and Style
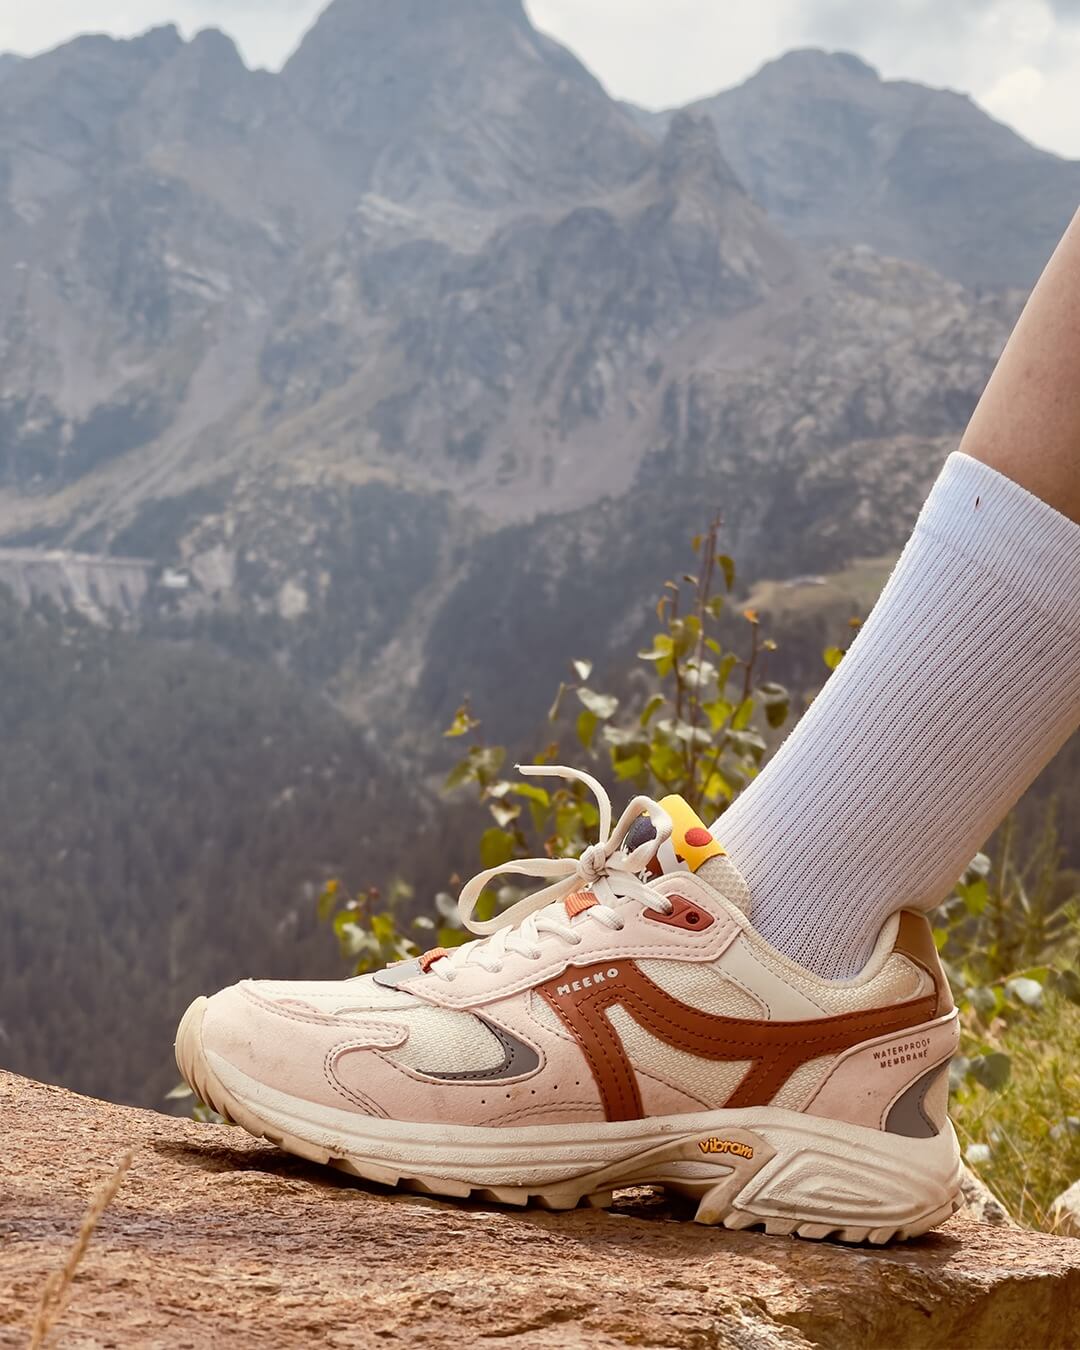
Hiking boots rarely win beauty contests, but the right pair can still look sharp. I go for clean lines, neutral tones, and soles that grip slick stone. Before photos, I brush off the dust — wet mud dulls color and contrast.
Local guides agree. The official El Chaltén tourism site recommends “good footwear, trekking boots preferably, and good wrapping up using the layer concept.”
Those few words sum up Patagonia’s truth — your gear has to earn its keep.
If you’re packing new boots, wear them in at home first. Blisters have no place in this landscape.
Pro tip: Keep a pair of quick-dry trail socks in your camera bag. Patagonia’s streams are cold, and dry socks can turn a bad day around fast.
Weather Smart, Not Weather Stuck
Patagonia’s weather has moods of its own. One morning might start calm and end with gusts that rattle your pack straps.
So, it’s best to carry warm and waterproof layers year-round because conditions shift without warning. I’ve watched clouds roll down Fitz Roy’s ridge in minutes — one second of blue, then full white-out.
Before every trek, I check the “Windy” app. It’s live air-flow map shows where gusts will hit hardest, so you can decide whether to start early or add an extra shell.
Next, let’s look at the exact Patagonia outfit that kept me dry, warm, and photo-ready.
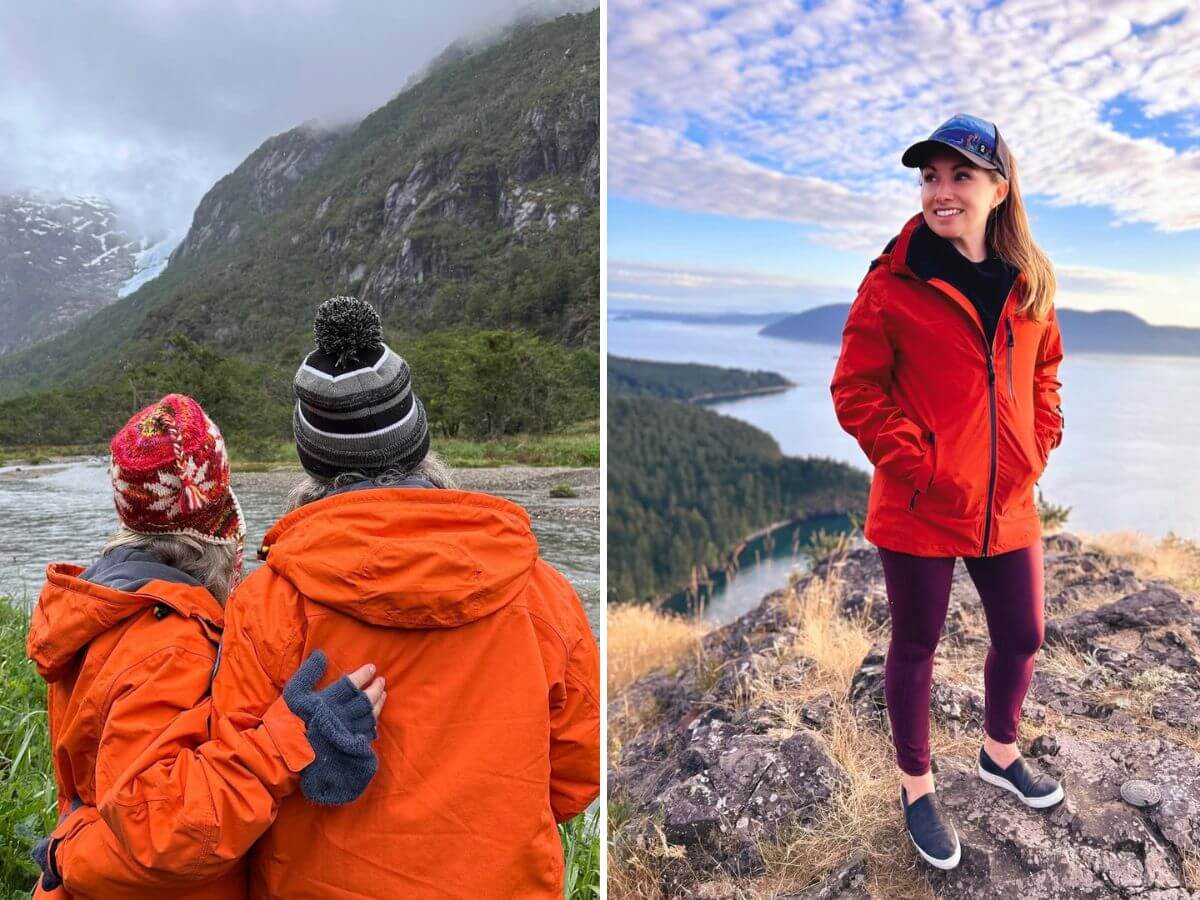
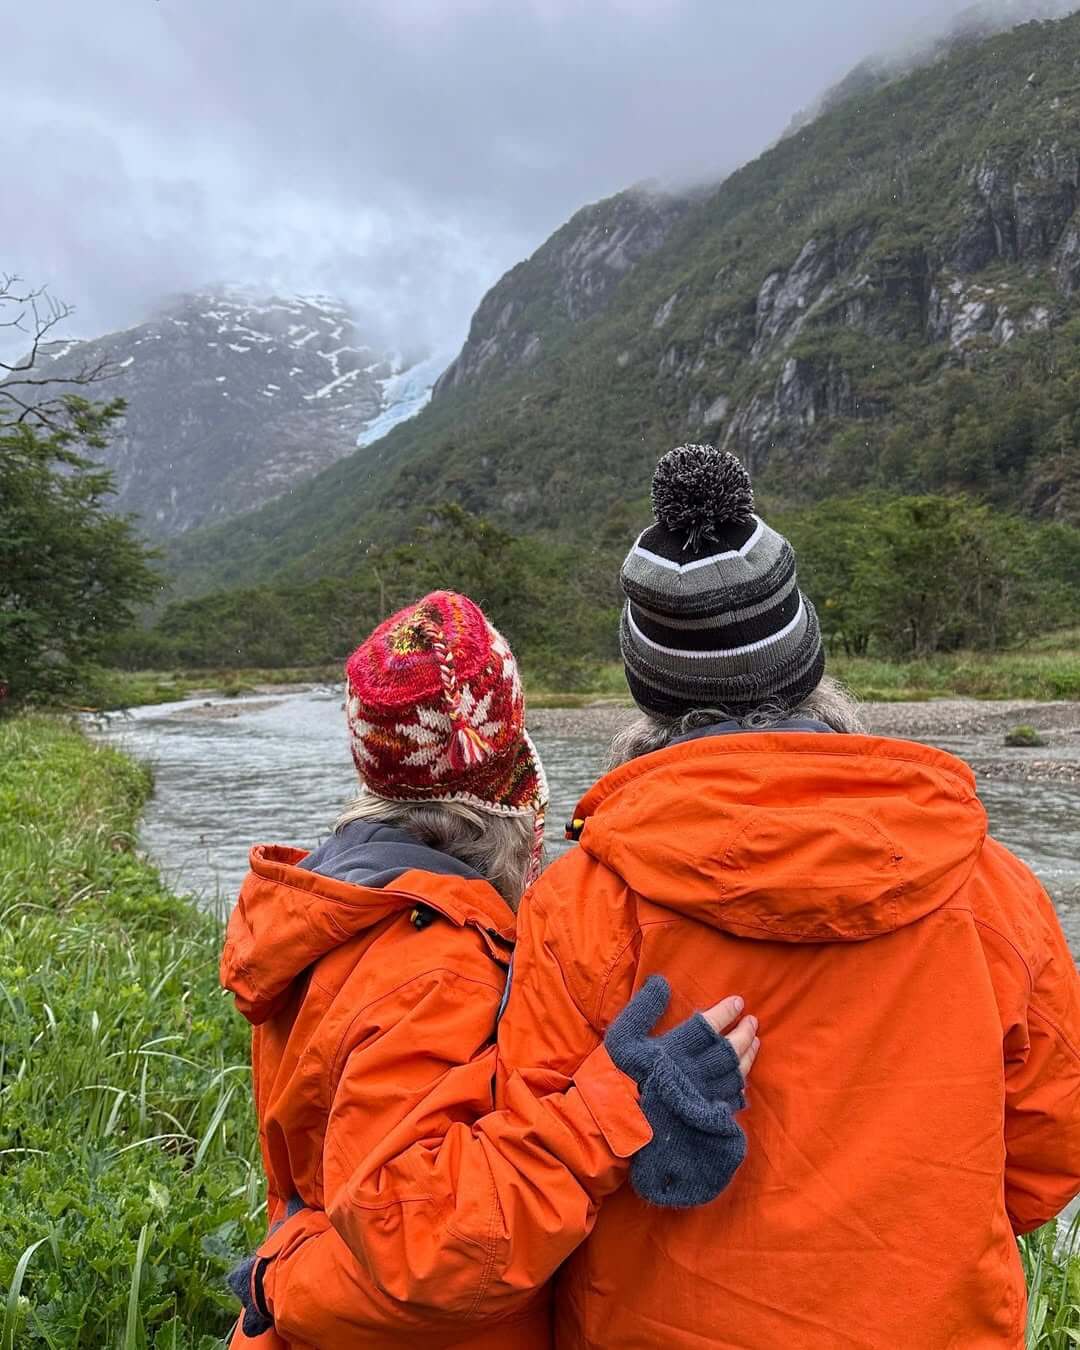
My Patagonia Outfit Breakdown
Here’s what I actually wore on my last trip — pieces that worked just as hard as I did:
- Light-gray merino base top that wicked away sweat and kept me dry on long climbs.
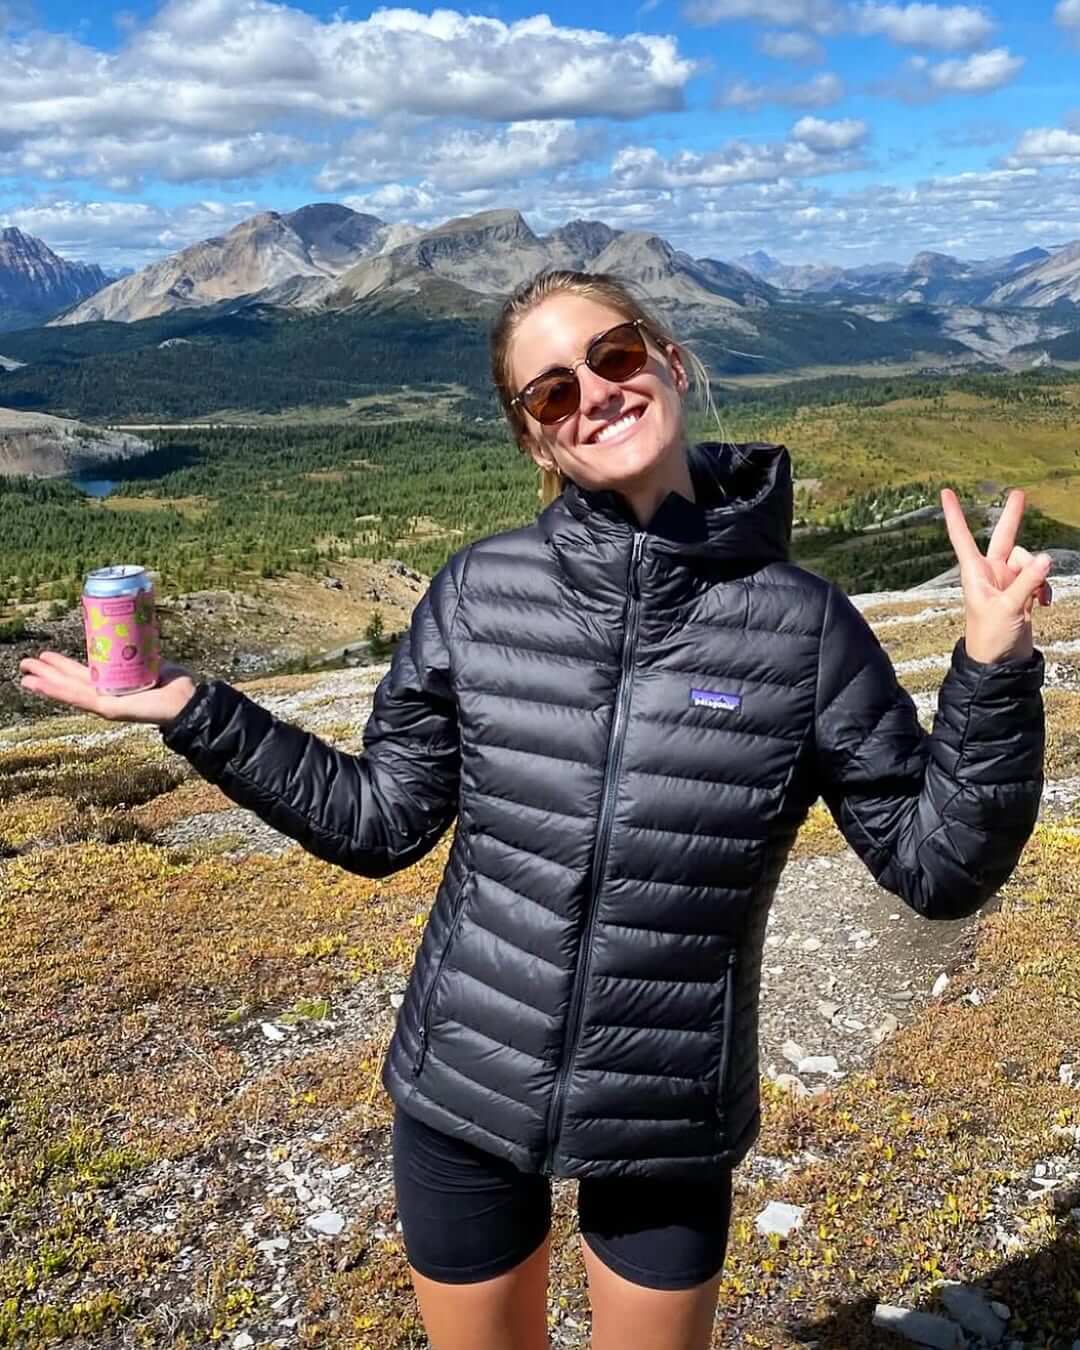
- Slim fleece mid-layer that hugged close for warmth without trapping heat.
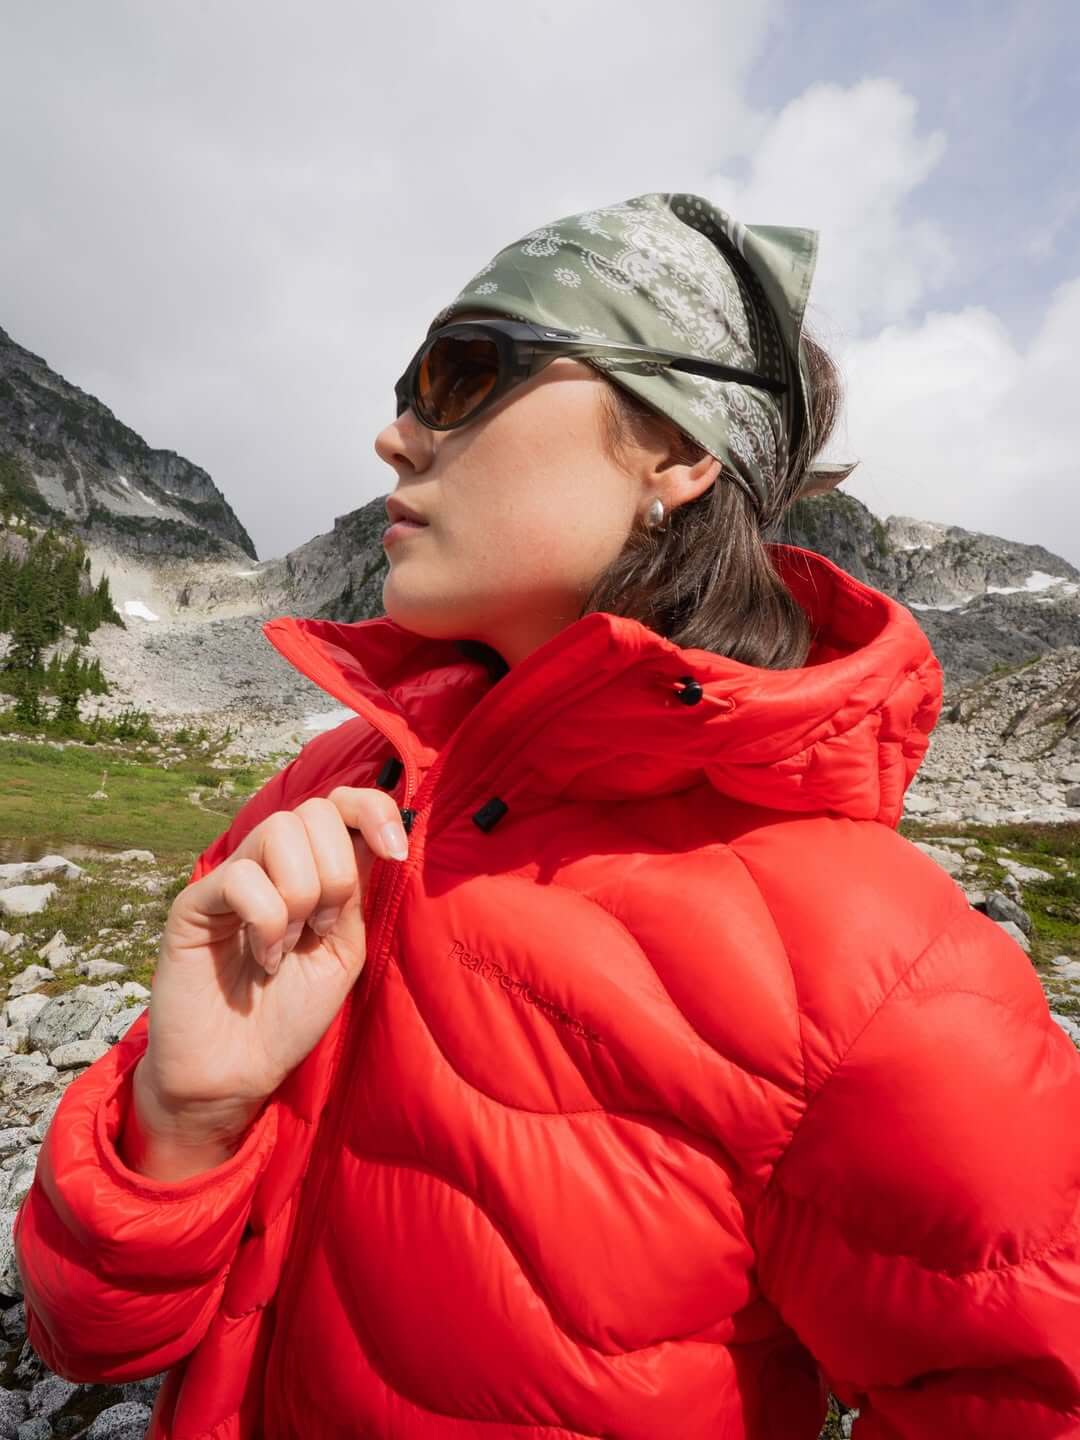
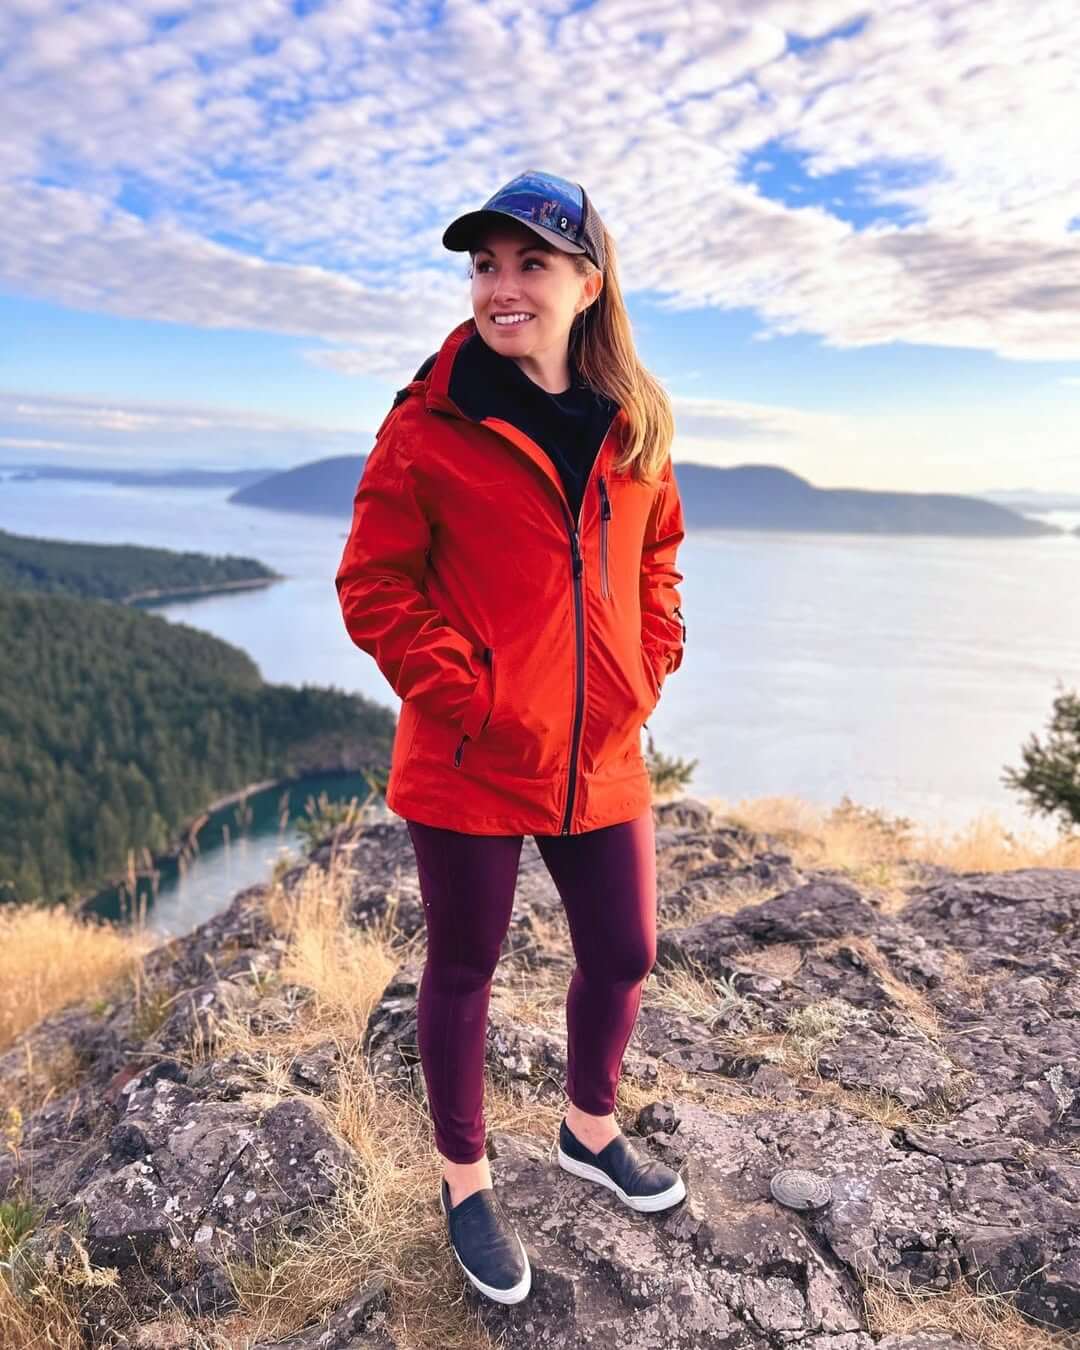
- Bright red shell jacket that blocked the wind, folded small, and stood out in photos.
- Olive hiking pants that resisted dirt and stretched easily when scrambling over rock.
- Waterproof boots with solid ankle support for slick, uneven trails.
When the wind picked up, I pulled on a wool beanie and neck gaiter — both practical and perfect color accents on camera.
If you’re building your own Patagonia hiking outfit, start with fit and comfort before style. The right layers make every step lighter, and every photo looks more natural because you’re not fighting the weather.
Most of my pieces doubled for the city too — that same red shell turned into my favorite jacket for slow mornings at a café in Bariloche.
So, pack smart, wear what moves with you, and let the landscape do the rest.
Quick Photo Tips for the Trail
Golden hour in Patagonia is pure magic — light spilling over glaciers, the mountains glowing like copper.
If you’re hiking solo, set your phone on a rock or a mini tripod, tap the timer, and give yourself a few seconds to breathe before it clicks.
Turn slightly away from the sun to soften the shadows on your face. Keep a loose stance — a half-step forward or your jacket catching the wind adds motion that feels alive.
One trick I swear by: After snapping the photo, don’t move right away. Stay still, feel the air shift, then take one more shot. That second frame often catches what the first one missed — the quiet, honest part of travel you can’t pose for.
Patagonia rewards patience. Every gust of wind and flicker of light becomes part of your story — you just have to be ready when it happens.
Before You Go — A Few Things Readers Always Ask
You’ve got your layers, your photos, and maybe a little wanderlust kicking in. Before you start packing, here are a few quick answers to questions I often get about dressing for Patagonia.
Do I need special hiking clothes for Patagonia?
Not necessarily. You can mix what you already own with one or two weather-proof pieces. Focus on fabrics that dry fast and don’t cling.
A thin fleece, a breathable rain shell, and sturdy boots are usually enough for most trails.
How many layers should I pack?
Three works well for most hikes — a base, a mid, and an outer shell. Add a fourth if you plan to camp or travel in shoulder season when nights get colder.
The trick is choosing lighter materials that stack without bulk.
Can I still look good in hiking photos without buying new gear?
Absolutely. Pick colors that pop against nature — earthy tones, rust, olive, or red. A scarf or beanie can change the whole look of your photos while keeping you warm. It’s less about new clothes and more about confidence and comfort.
Wrapping It Up
Patagonia rewards the traveler who shows up prepared but stays open to surprise. The right outfit makes every trail easier and every photo more real.
If you’ve hiked there before, share your favorite gear combo or photo tip in the comments — I’d love to hear what worked for you.
And if this guide helped you plan your trip, save it for later or share it with a friend heading south.
Your story might inspire their next adventure.
RELATED: