The Best Ways to Take Stunning Beach Pictures This Summer
The first time I tried taking beach photos on my own, I thought bright sunshine was my best friend. I went out at midday, excited to capture the turquoise waves behind me, but every shot came back with harsh shadows and a washed-out sky.
I remember scrolling through my camera roll later, frustrated that the photos didn’t match how beautiful the beach felt in real life.
That moment shifted how I think about photography. I realized stunning beach pictures aren’t about filters or expensive cameras — they’re about knowing when to shoot, how to use the light, and how to move naturally in front of the lens.
Once I learned that, my photos looked less like forced snapshots and more like memories I wanted to keep.
This guide shares the lessons I picked up the hard way. Inside, you’ll find the best ways to take summer beach pictures that look natural, flattering, and fun.
From picking the right time of day to mastering angles, outfits, and quick phone settings, you’ll walk away with tips you can try on your very next beach trip.
Choosing the Right Time of Day
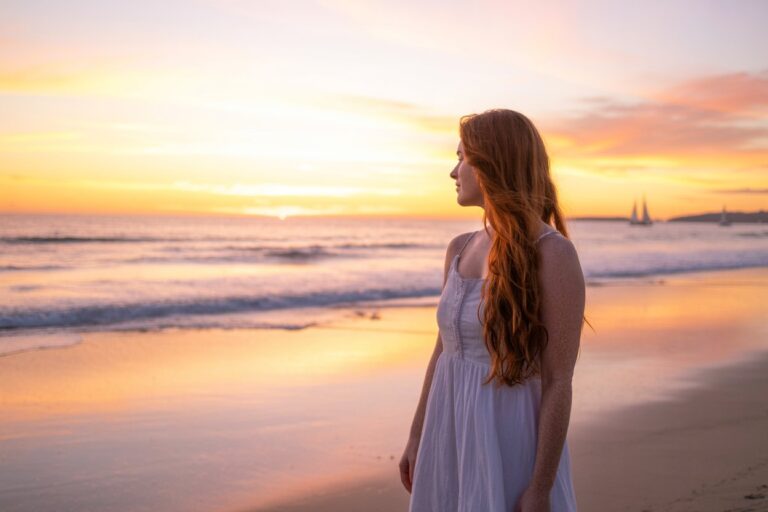
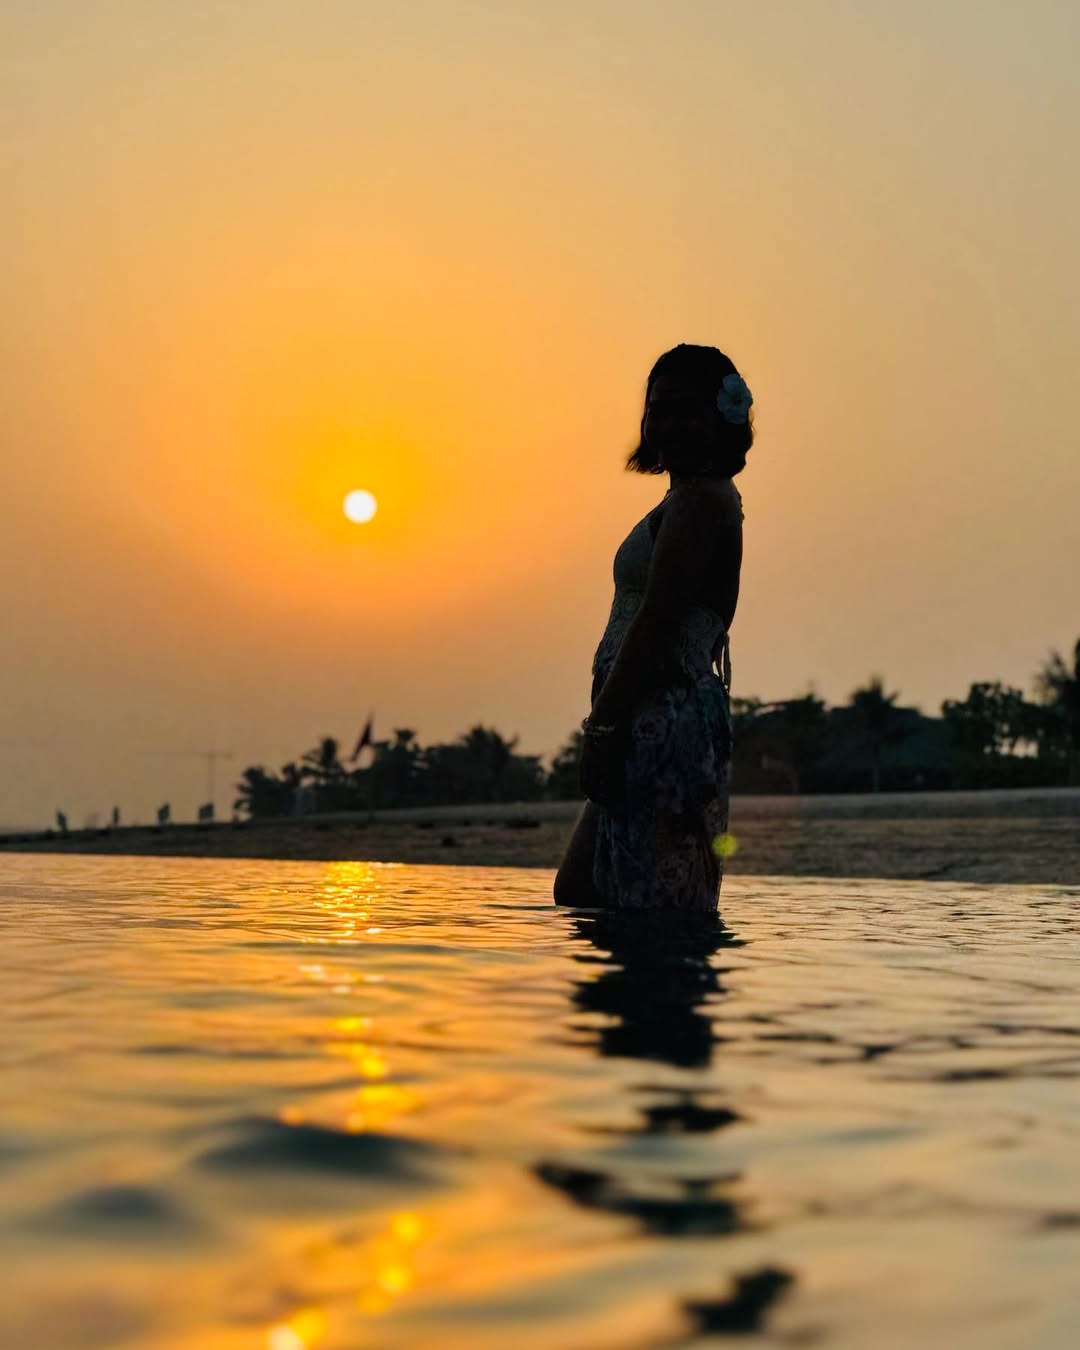
One of the most practical beach photography tips is choosing the right time to shoot. Photographers often swear by the “golden hour,” the short window after sunrise or before sunset when light turns soft and warm.
ProGrade Digital explains that this type of light flatters skin tones because sunlight has to pass through more of Earth’s atmosphere, scattering blue light and leaving warmer tones.
The National Park Service also notes that early and late daylight hours create richer colors in both skies and landscapes, which can make photos feel more true-to-life.
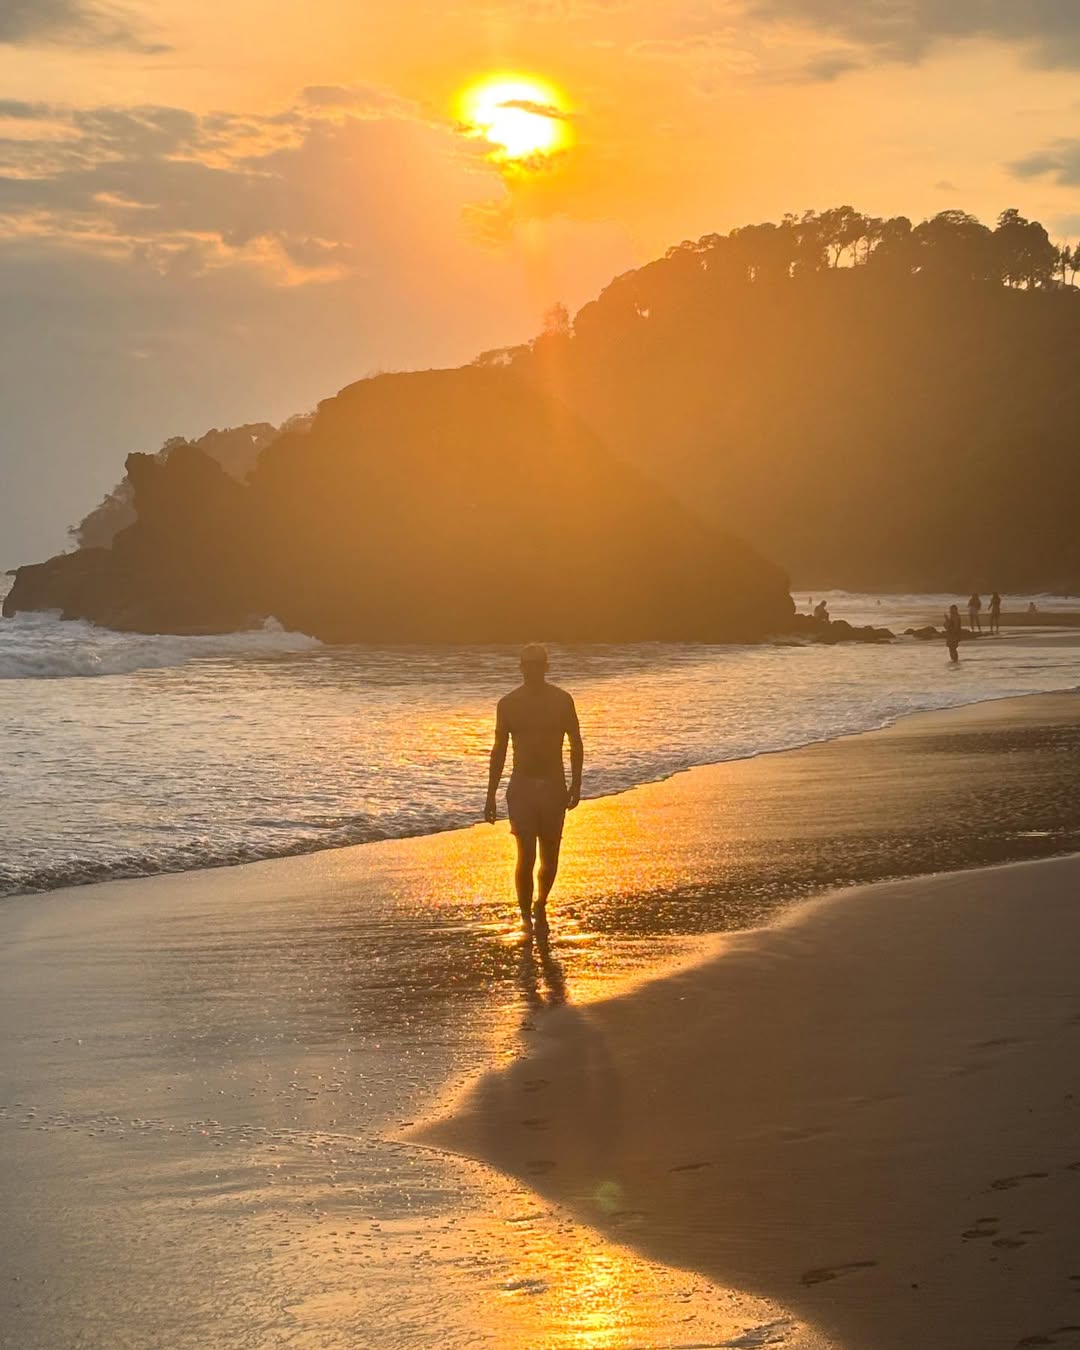
When I head out in the morning, I notice how the sand looks untouched and backgrounds stay free of crowds. Sunset offers something different — a dramatic glow across the water that makes photos look instantly cinematic.
If you want beach pictures that pop, start with timing. Once you nail that, the next step is learning how to actually work with the light you’ve chosen.
Understanding Light and Shadows
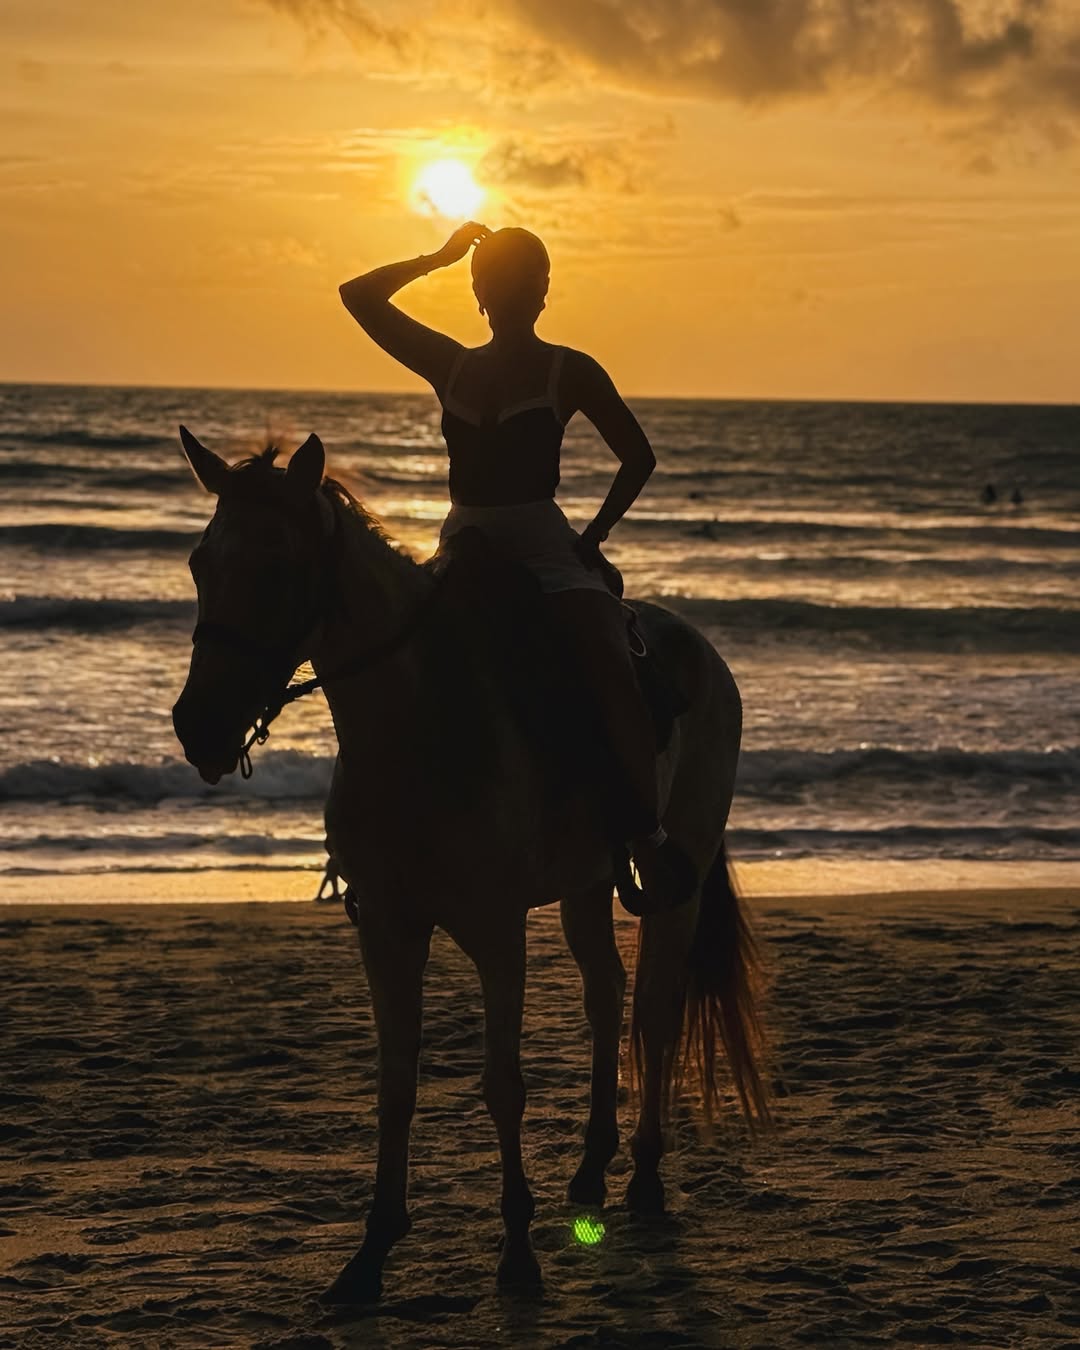
The beach is like a giant reflector. Bright sand bounces light back toward you, and water adds sparkle in every direction. Learning to shape that light makes photos cleaner and more flattering.
Digital Photography School suggests placing the sun behind you for even light, or behind your head for a glowing outline — just remember to adjust exposure so your face isn’t lost in shadow.
One of my quick tricks is holding up a white towel to reflect sunlight onto my face. It sounds simple, but it works like a budget reflector.
Rangefinder Magazine points out that under-exposing slightly in midday conditions can protect highlights, and you can recover shadows later with editing tools.
Now that you understand how to bend light in your favor, the next challenge is to make sure your body doesn’t look stiff against that beautiful backdrop.
Making the Most of Movement
If you’ve ever wondered how to pose at the beach without looking awkward, the secret is movement. Still poses tend to look stiff against crashing waves and shifting sand.
Wildesparrow Photography suggests adding motion — like walking along the shoreline, tossing your hair, or kicking water — to make pictures feel alive.
Here’s a quick action step: set your phone to burst mode. Walk slowly along the tide line while turning your head toward the camera. Out of ten shots, you’ll almost always catch one that feels effortless.
If you’re snapping kids, this is gold — burst mode freezes playful splashes and laughter better than any staged pose.
Once you’ve loosened up with movement, the next thing to think about is where your camera sits, because angles can completely reshape how your photo looks.
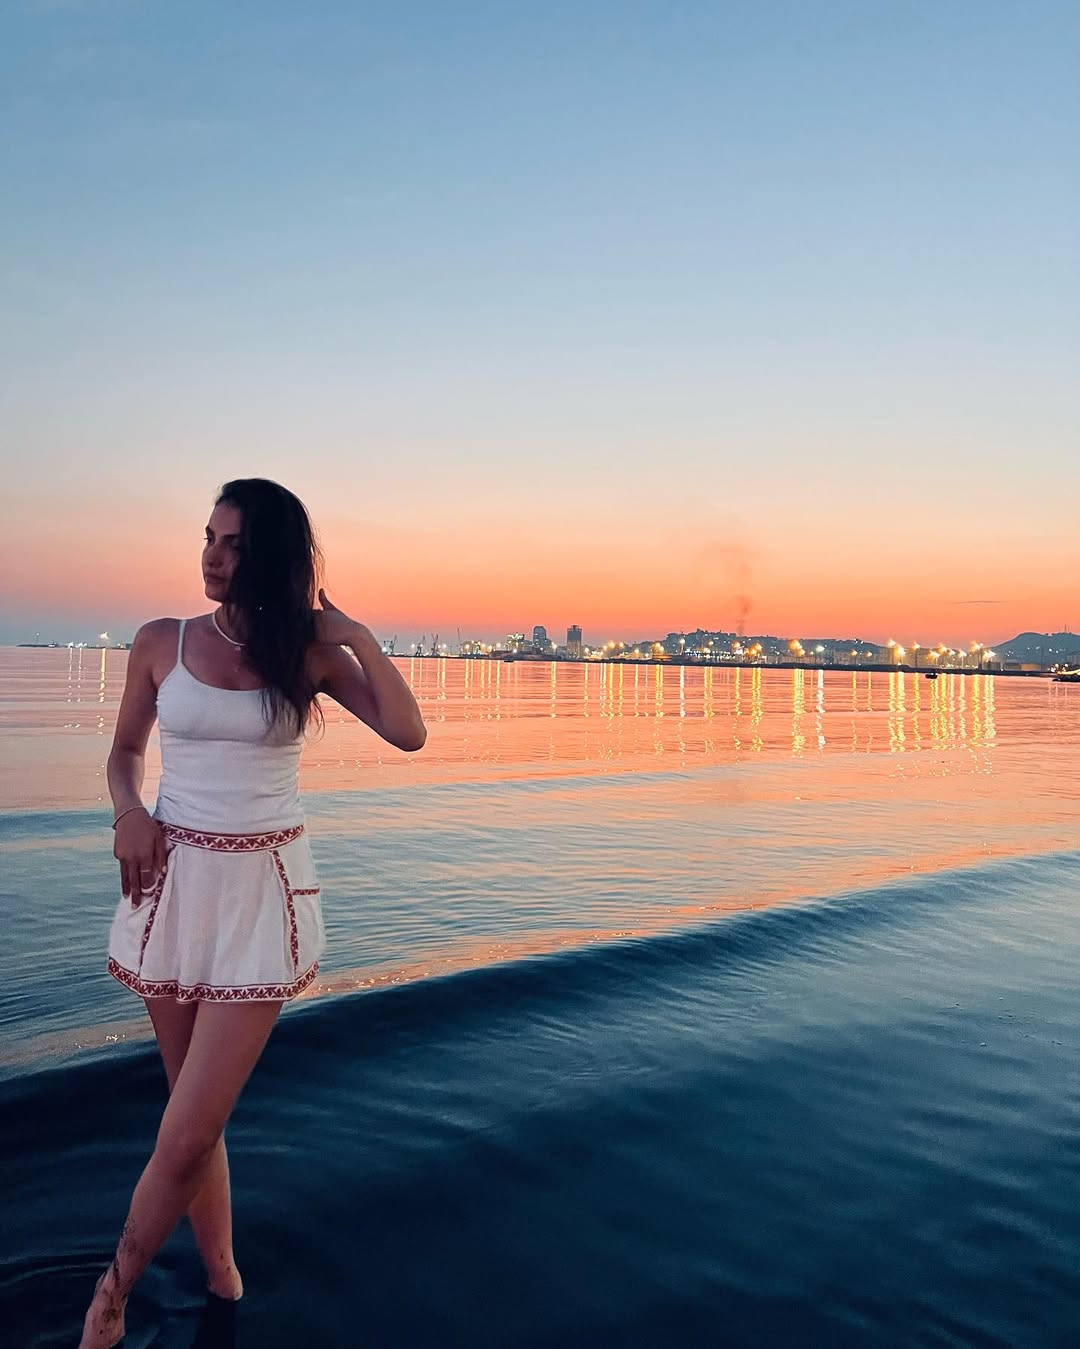
Playing With Angles and Framing
Angles are one of the most overlooked beach photography tips. Shooting at eye level works, but crouching low instantly changes perspective.
Iceland Photo Tours explains that a low angle makes waves appear taller and skies look wider, while keeping horizon lines straight can create balance.
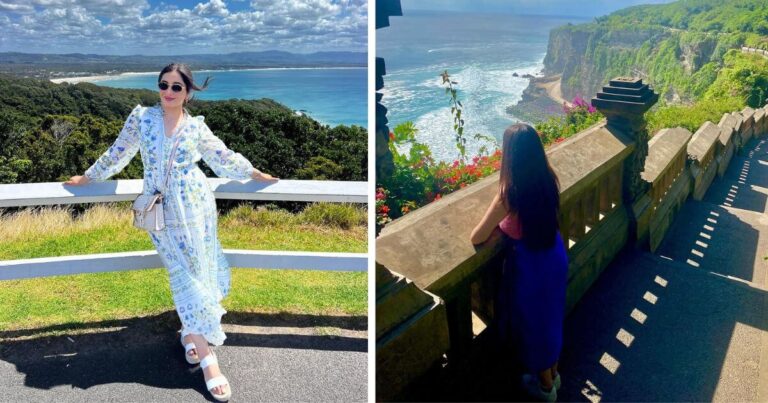
When I travel solo, I’ll prop my phone on my backpack and angle it upward slightly. It’s not perfect, but it creates photos that feel more polished than handheld selfies. Framing also matters: step near palm trees, dunes, or even a beach umbrella to add structure.
Angles create the foundation, but the colors you wear can either help or hurt your shot — and that’s where styling comes in.
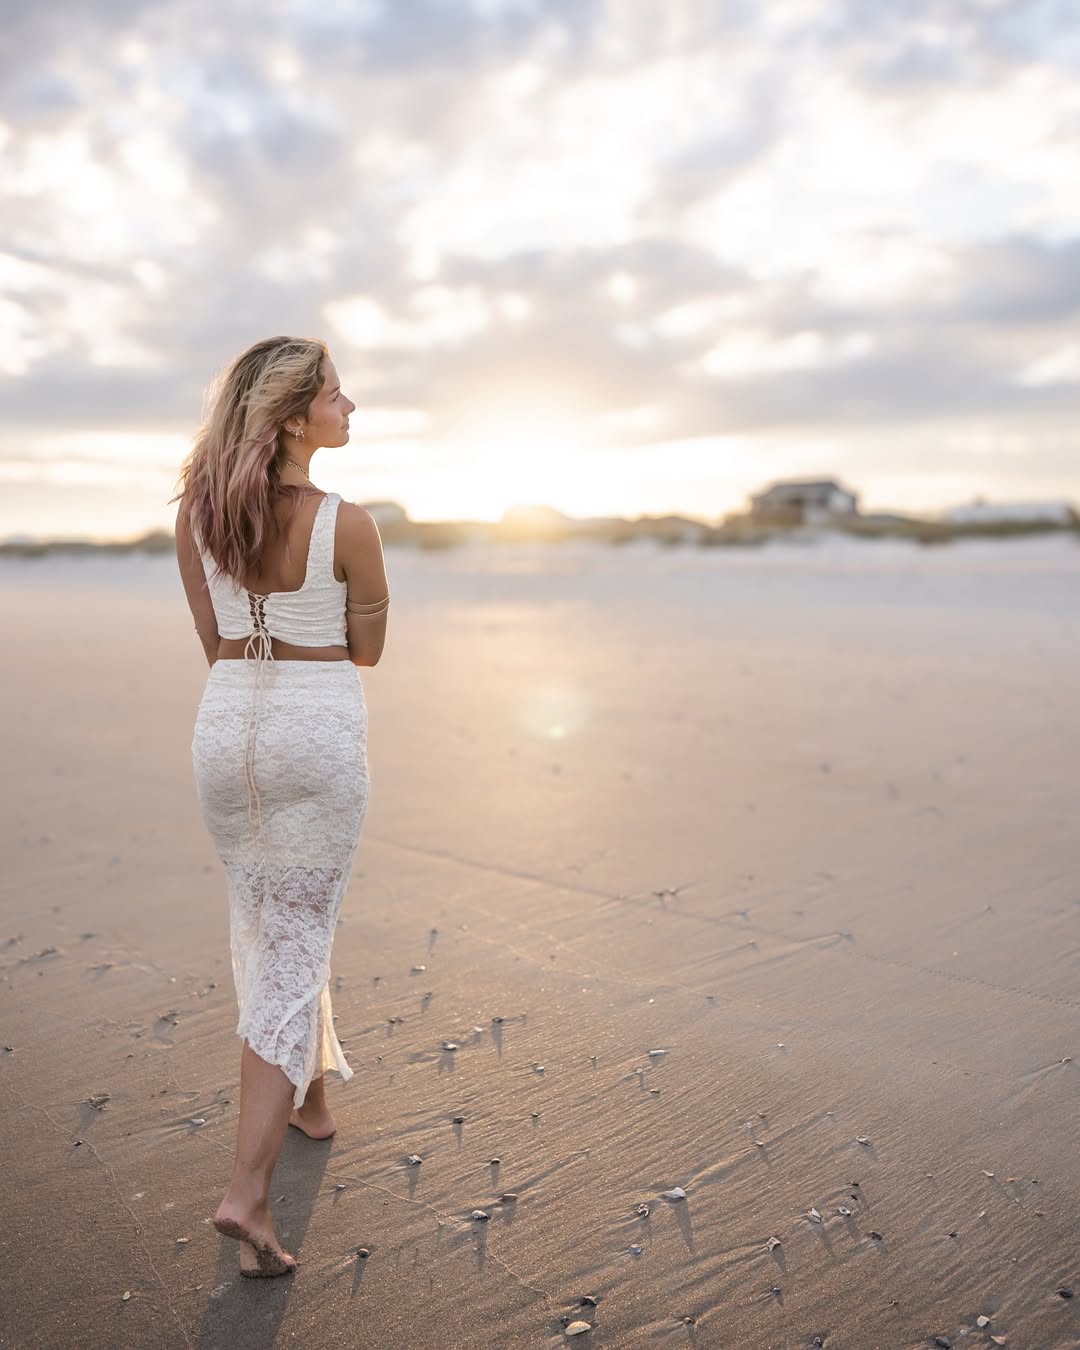
What to Wear and Bring for Photos That Pop
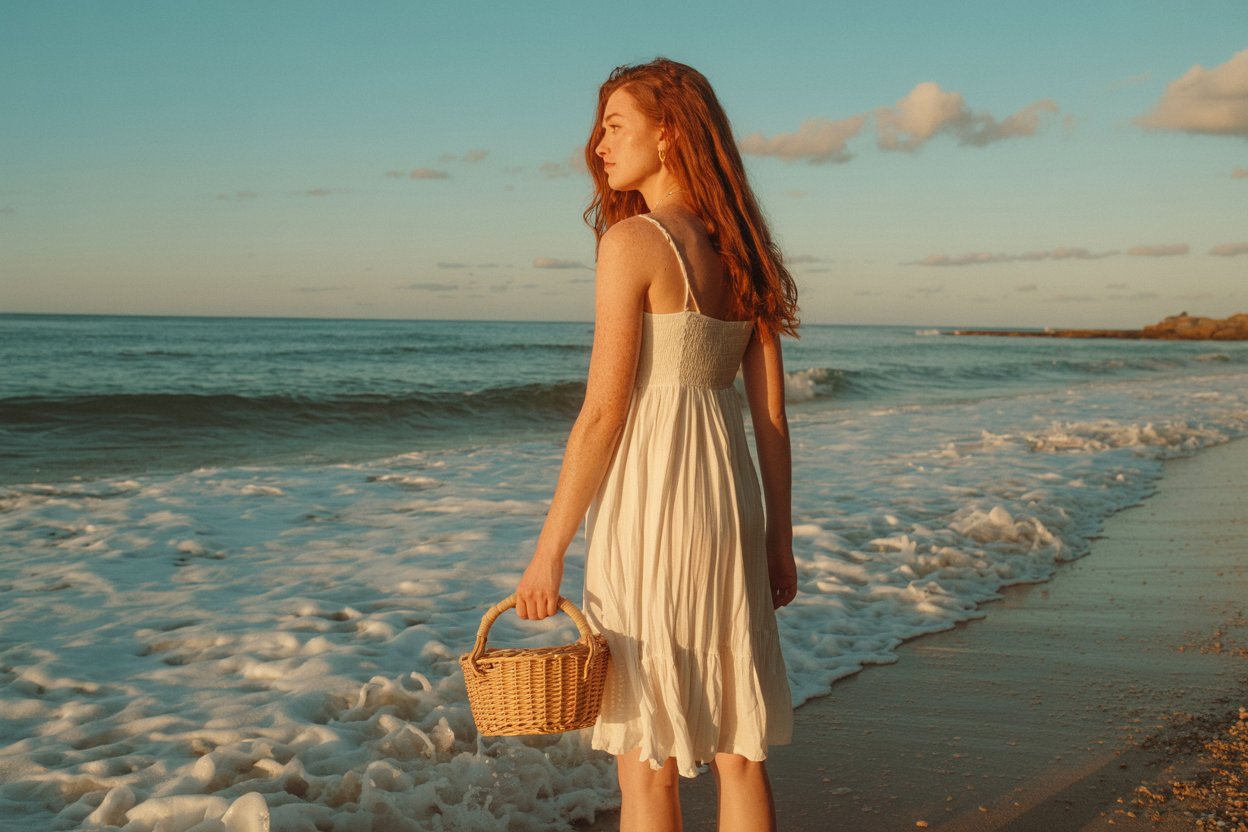
Think about your background before choosing an outfit. Against blue water and pale sand, solid colors usually stand out more than busy prints. A red dress or bold swimwear can brighten a shot, while stripes or checks often distort on camera. I’ve made that mistake before — now I stick with clean colors when I want photos that translate well both on screen and in print.
Small props can also change the feel of a shot. A wide-brim hat, a bright towel, or sunglasses gives you something to interact with, making poses feel more natural. If you’re traveling solo, a prop also saves you from the “what do I do with my hands?” problem.
Even with the right outfit and props, though, photos fall flat if you look tense. That’s why comfort in front of the lens matters more than anything else.
Check out this article for a proper guide on what to wear for epic beach photos.
How to Look Natural in Front of the Camera
Learning how to look natural in photos is about small adjustments, not dramatic poses. Shift your weight from one leg to the other to relax your stance. Take a slow breath before each shot. Controlled breathing reduces muscle tightness, which shows up in your posture.
When I feel awkward, I’ll bend down to pick up a shell or glance toward the horizon. These little actions keep my hands busy and help me avoid stiff expressions. If you’re using a self-timer, don’t freeze in place. Walk into the frame instead. Often the in-between steps end up as the strongest shots.
Once you’re comfortable in front of the lens, the last piece is using a few tech tricks to protect your photos from overexposure or blur.
Quick Tech Tips for Better Beach Shots
Bright sand can confuse cameras, leading to washed-out shots. One way to fix that is with the “Sunny 16 rule”: set aperture to f/16 and match shutter speed with your ISO. Even if you’re on a phone, you can apply the same principle by slightly lowering exposure so details stay crisp.
If your phone or camera allows RAW shooting, use it. RAW files preserve more information than JPEGs, especially in shadow areas, which means you can recover lost detail more cleanly when editing.
Photographers note that RAW keeps more tonal range, making it easier to balance highlights and shadows later.
These small technical tweaks give you more control, but remember: even the smartest gear only works if you combine it with timing, light, movement, and confidence in front of the camera.
FAQ About Summer Beach Pictures
What is the best time of day to take beach photos?
Early morning and late afternoon give the softest, most flattering light. Photographers often call this the “golden hour.” It helps skin tones look warm and natural while avoiding harsh shadows.
How do I pose at the beach without looking awkward?
Movement is your friend. Walking slowly along the shoreline, tossing your hair, or splashing water keeps photos playful. If you feel stiff, interact with something around you — like picking up a shell or looking toward the horizon.
What colors should I wear for summer beach pictures?
Solid colors usually work best against sand and water. Bright shades like red, yellow, or coral stand out. Avoid small patterns or stripes, since they can create odd distortions in photos.
Do I need a professional camera for great beach shots
No. Modern phones are powerful enough for sharp, clear images. If your phone allows RAW mode, turn it on. It gives you more flexibility to adjust shadows and highlights later.
How can I stop my beach photos from looking washed out?
Lower your exposure slightly, especially on bright sand. This keeps details in both the sand and sky. Using the “Sunny 16 rule” is another simple way to keep shots balanced on clear days.
Conclusion
Beach photography isn’t about filters or expensive gear. It’s about timing, light, movement, and confidence. When you combine these simple steps, your summer beach pictures won’t just look better — they’ll capture the feeling of being there.
Next time you head to the shore, try one new tip from this guide. Maybe it’s shooting at sunrise, wearing a color that pops, or trusting burst mode while you walk along the waterline. With a little practice, your photos will start looking like the ones you’ve always wanted to frame.
I’d love to hear from you — what’s your go-to trick for taking photos at the beach? Drop a comment below and share your favorite pose, time of day, or memory. Your idea might inspire another traveler who’s chasing that perfect summer shot.